System Requirements
ServiceTracker has been developed for Android versions 4.7 and above, iOS and also Windows using Salesforce Mobile.
Installation
To install ServiceTracker you must have already signed up to the ServiceTracker web App and obtained a license, username and password. You can contact your system administrator or ServiceTracker Ltd direct to gain access to the system.
The ServiceTracker mobile application can be downloaded and installed from the Google Play Store, Windows Store (Coming soon) and Apple Store. Any updates to the system can also be installed from the same location.


Using the ServiceTracker Mobile App
Here is a short user guide to using the ServiceTracker mobile
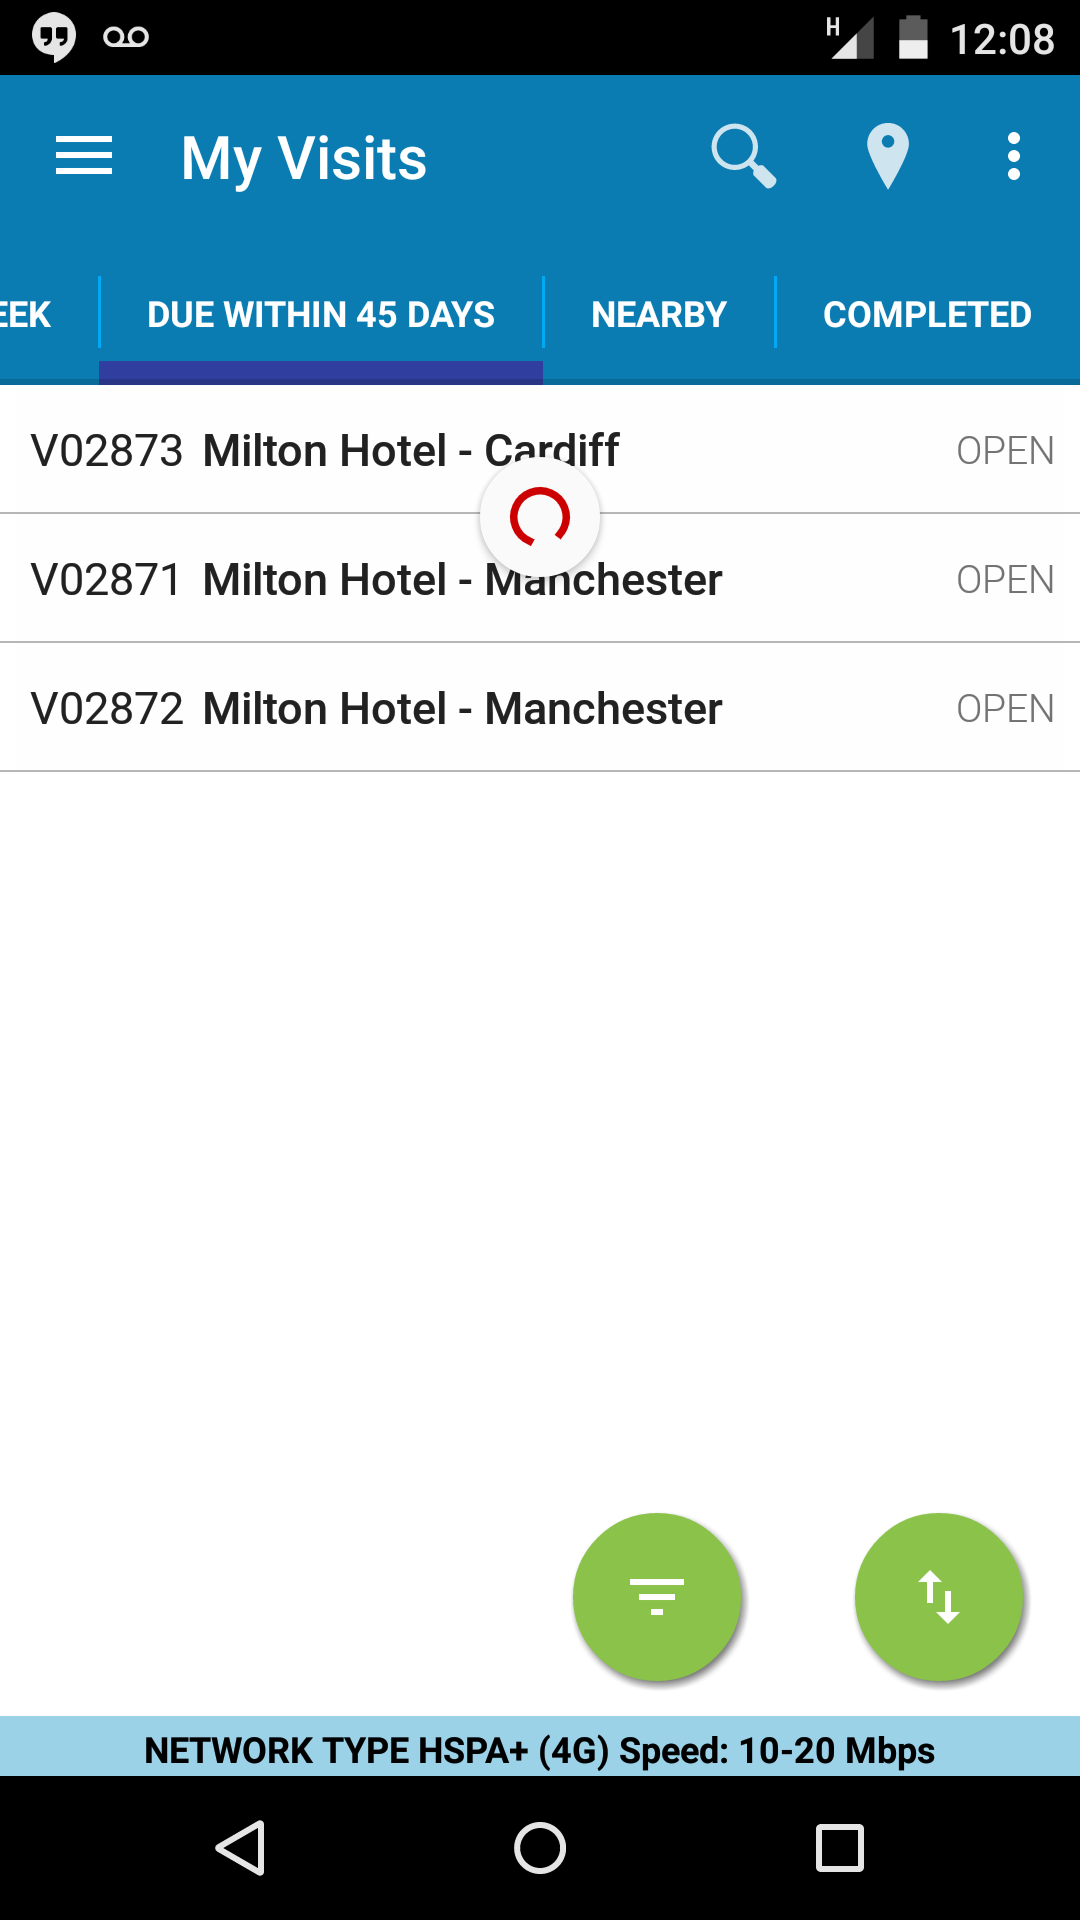
1. Visit Screens
When you initially load ServiceTracker you will be presented with a number views listing all visits assigned to you within a given timeframe. Please ensure that for the initial download you have a strong data signal or Wifi Connection.
These views include; Overdue Visits, Visit Today, Visits This Week, Visits Due within 45 days, Nearby Visits and Completed Visits.
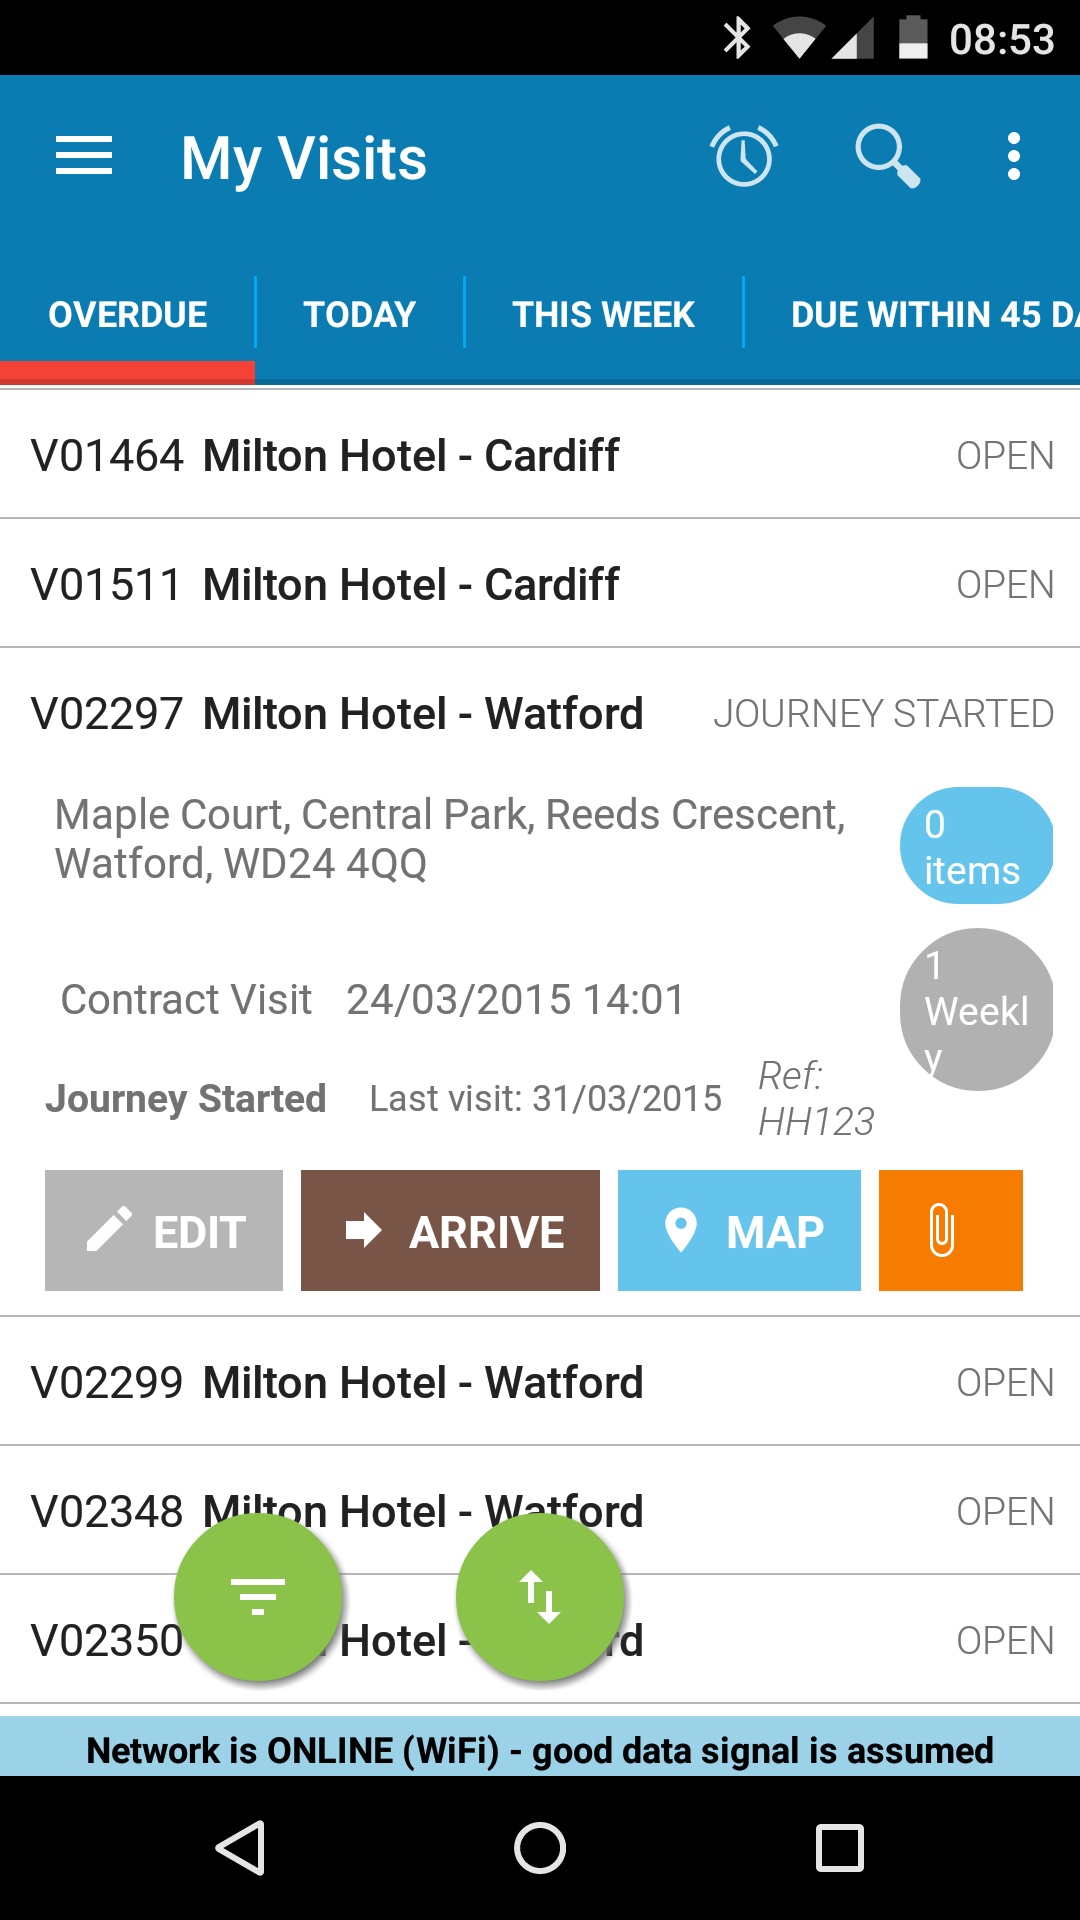
To access any of these view screens, scroll across your application or click on the view label at the top of the screen.
2. Searching, Sorting and Filtering Visits
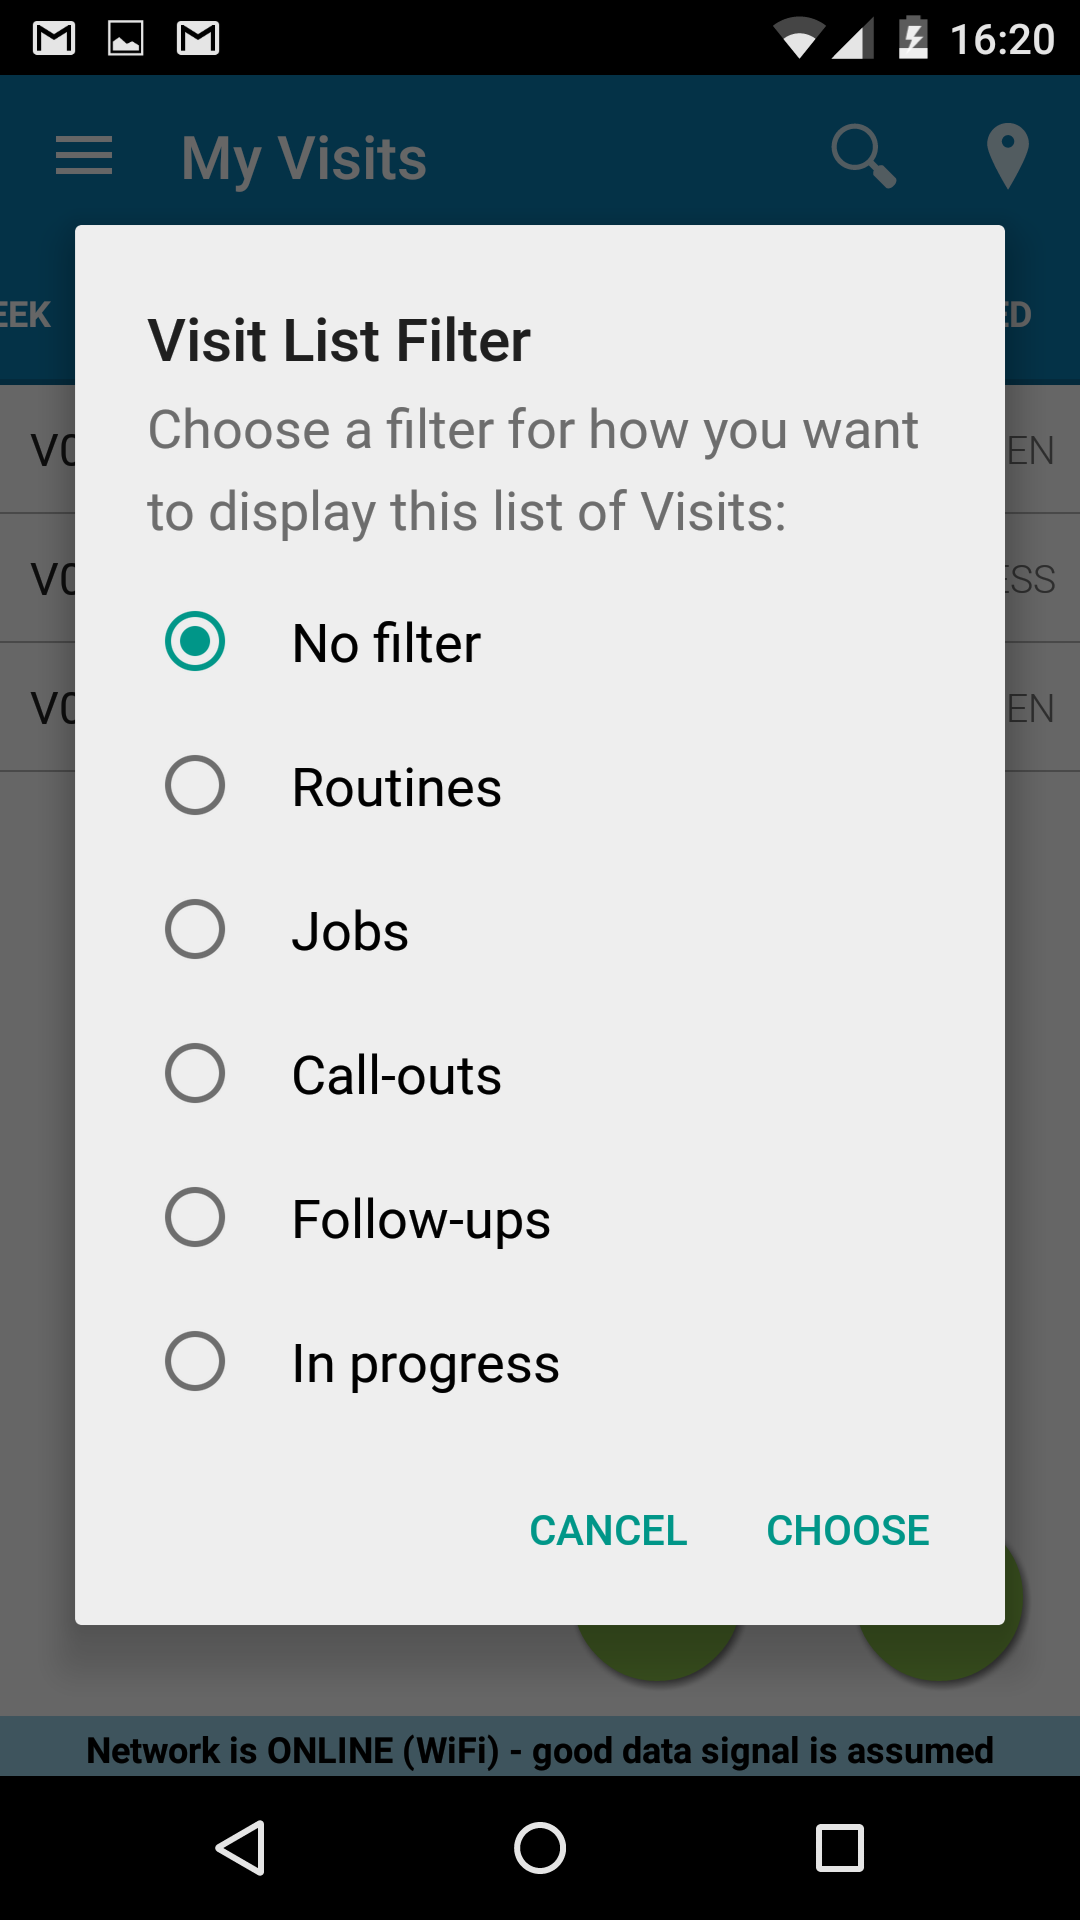
To sort or filter a visit list, press on one of the corresponding icons at the bottom of the screen or use the top right navigation menu.
Tap on the filter or sort you would like to use and select “Choose”.
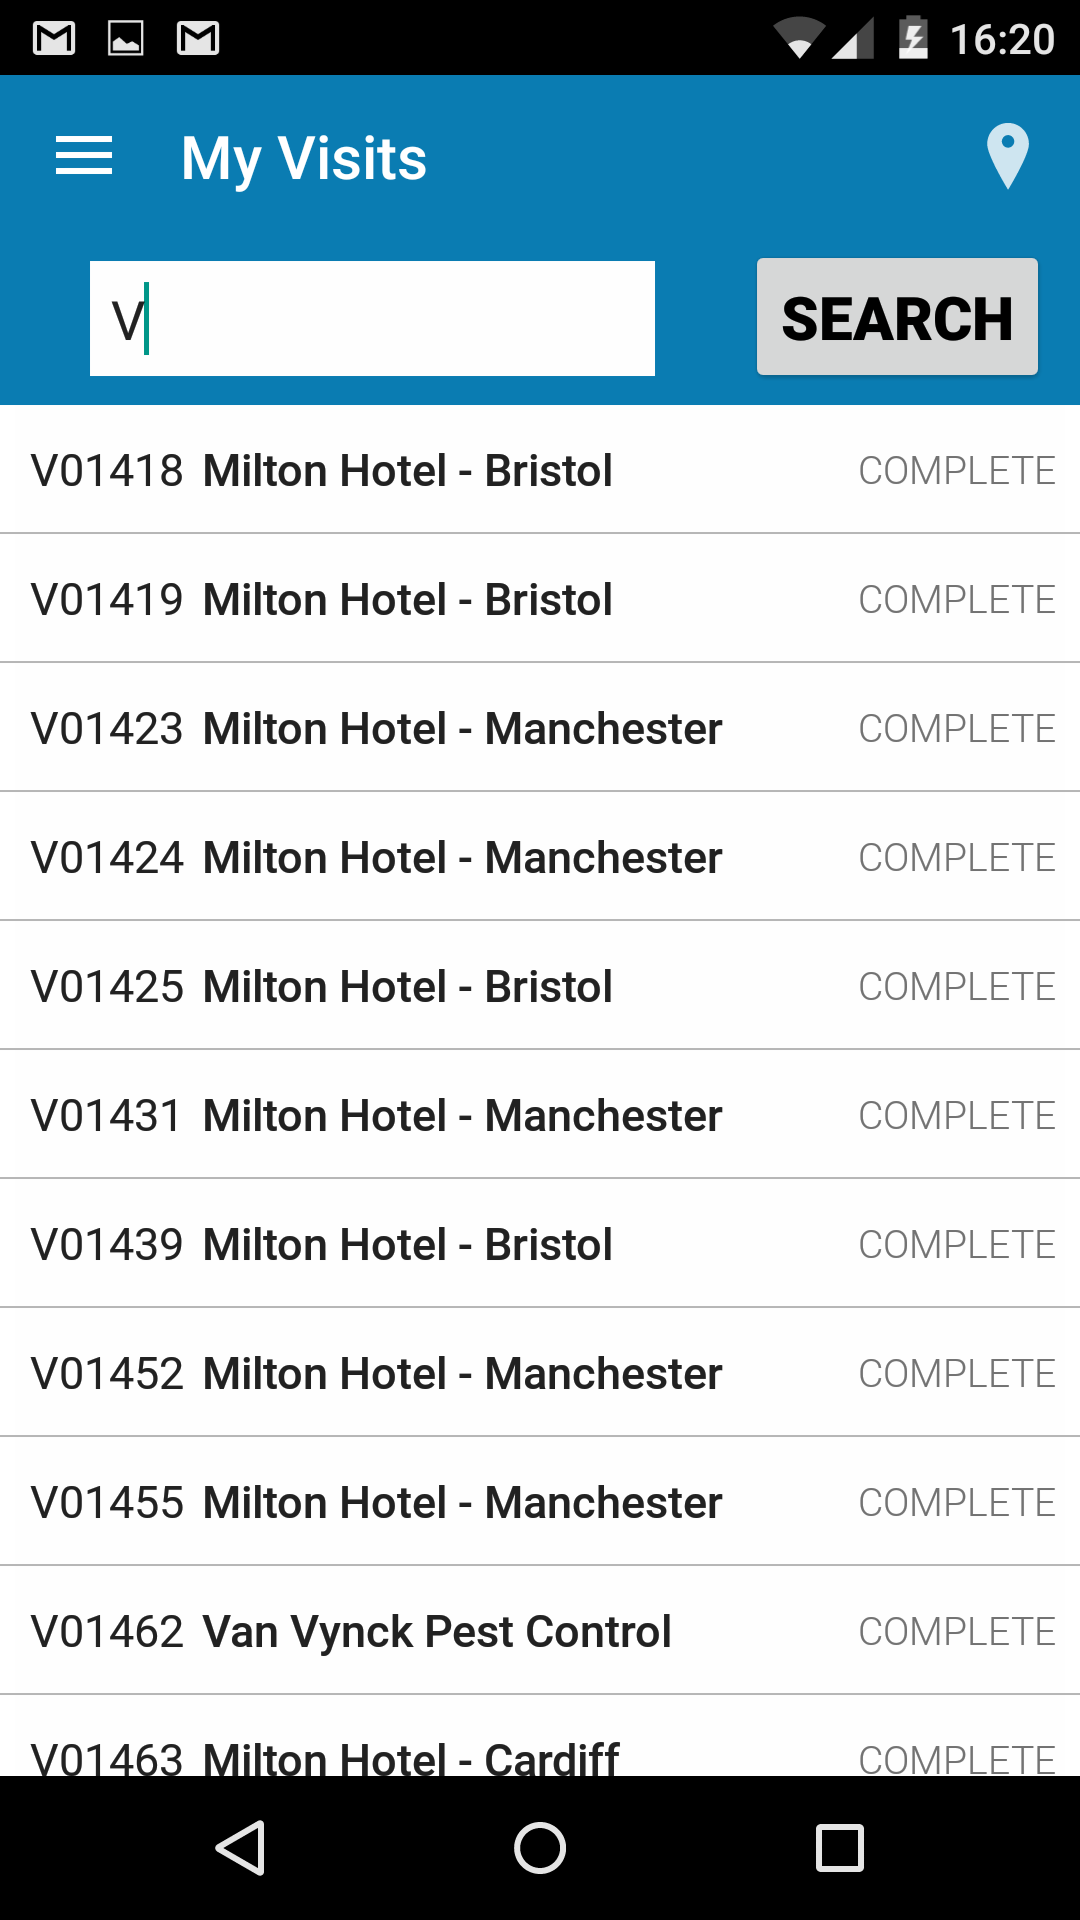
To search for a visit by name, address or visit number use the magnifying glass at the top of your screen, enter search text and then tap the search button.
3. Viewing visits on a map
To view the map, tap on the map marker icon at the top of the screen. This will take you to the map view where you can tap on a map pin to view the visit address.
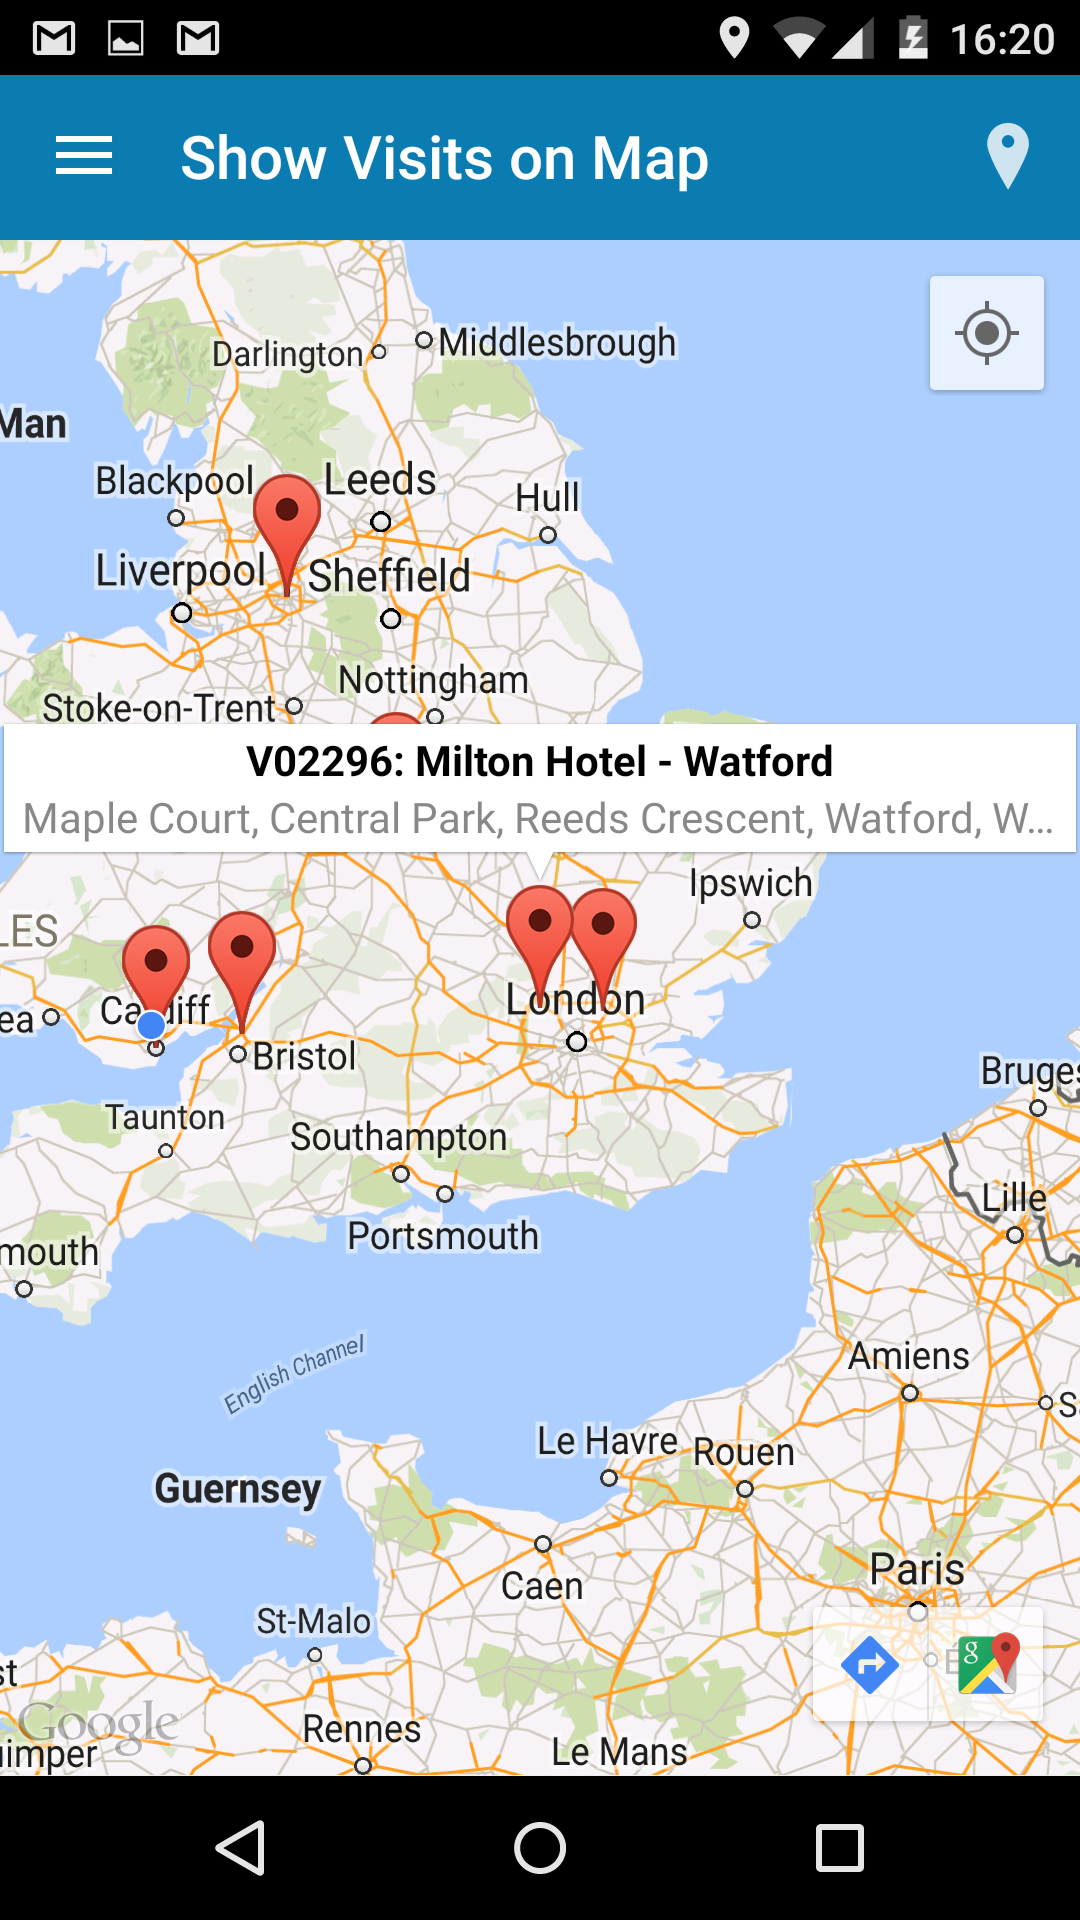
You can then tap the directions icon on the bottom of the page to get directions and traffic reports for your journey.
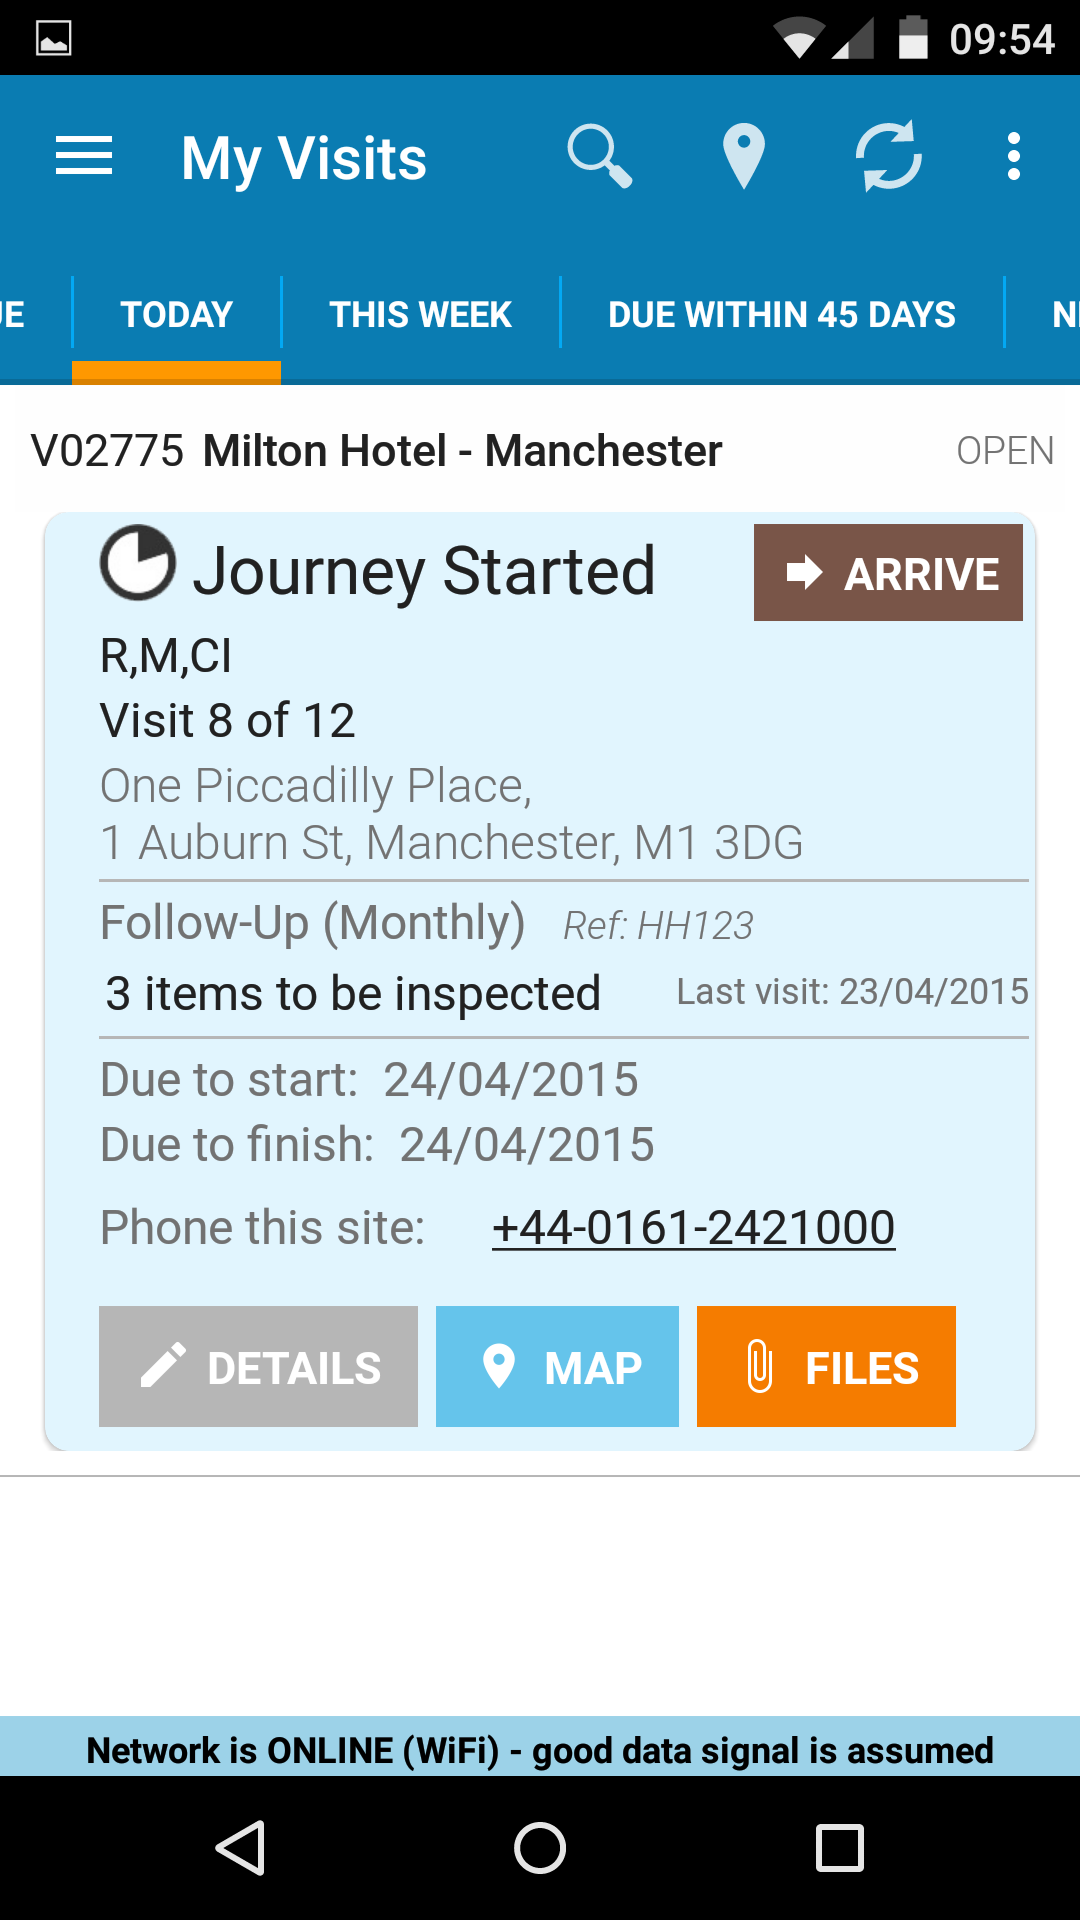
4. Viewing visit details
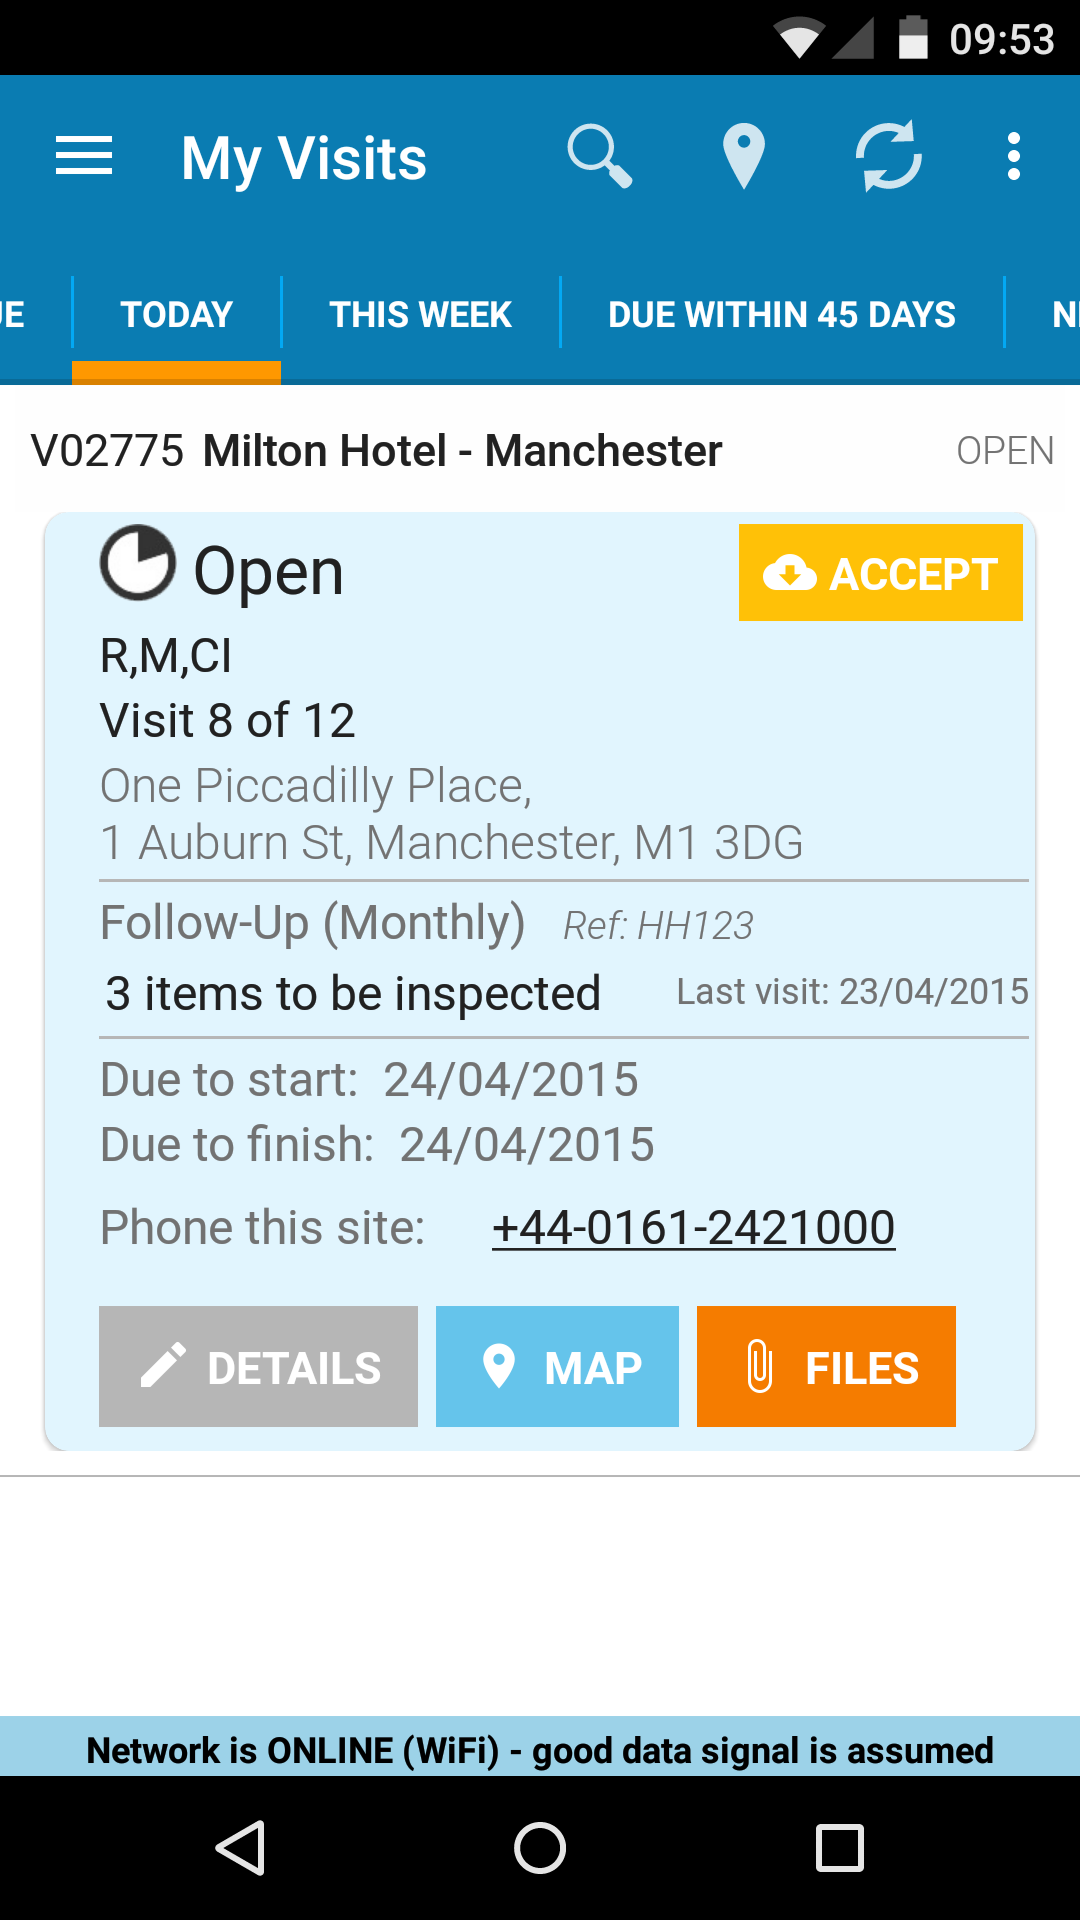
To view a visit in more detail, tap on a visit from a view to expand the visit detail card. This will show details of the visit and the location.
5. Accepting a visit
From the visit detail card, tap the “Accept” icon and confirm your selection.
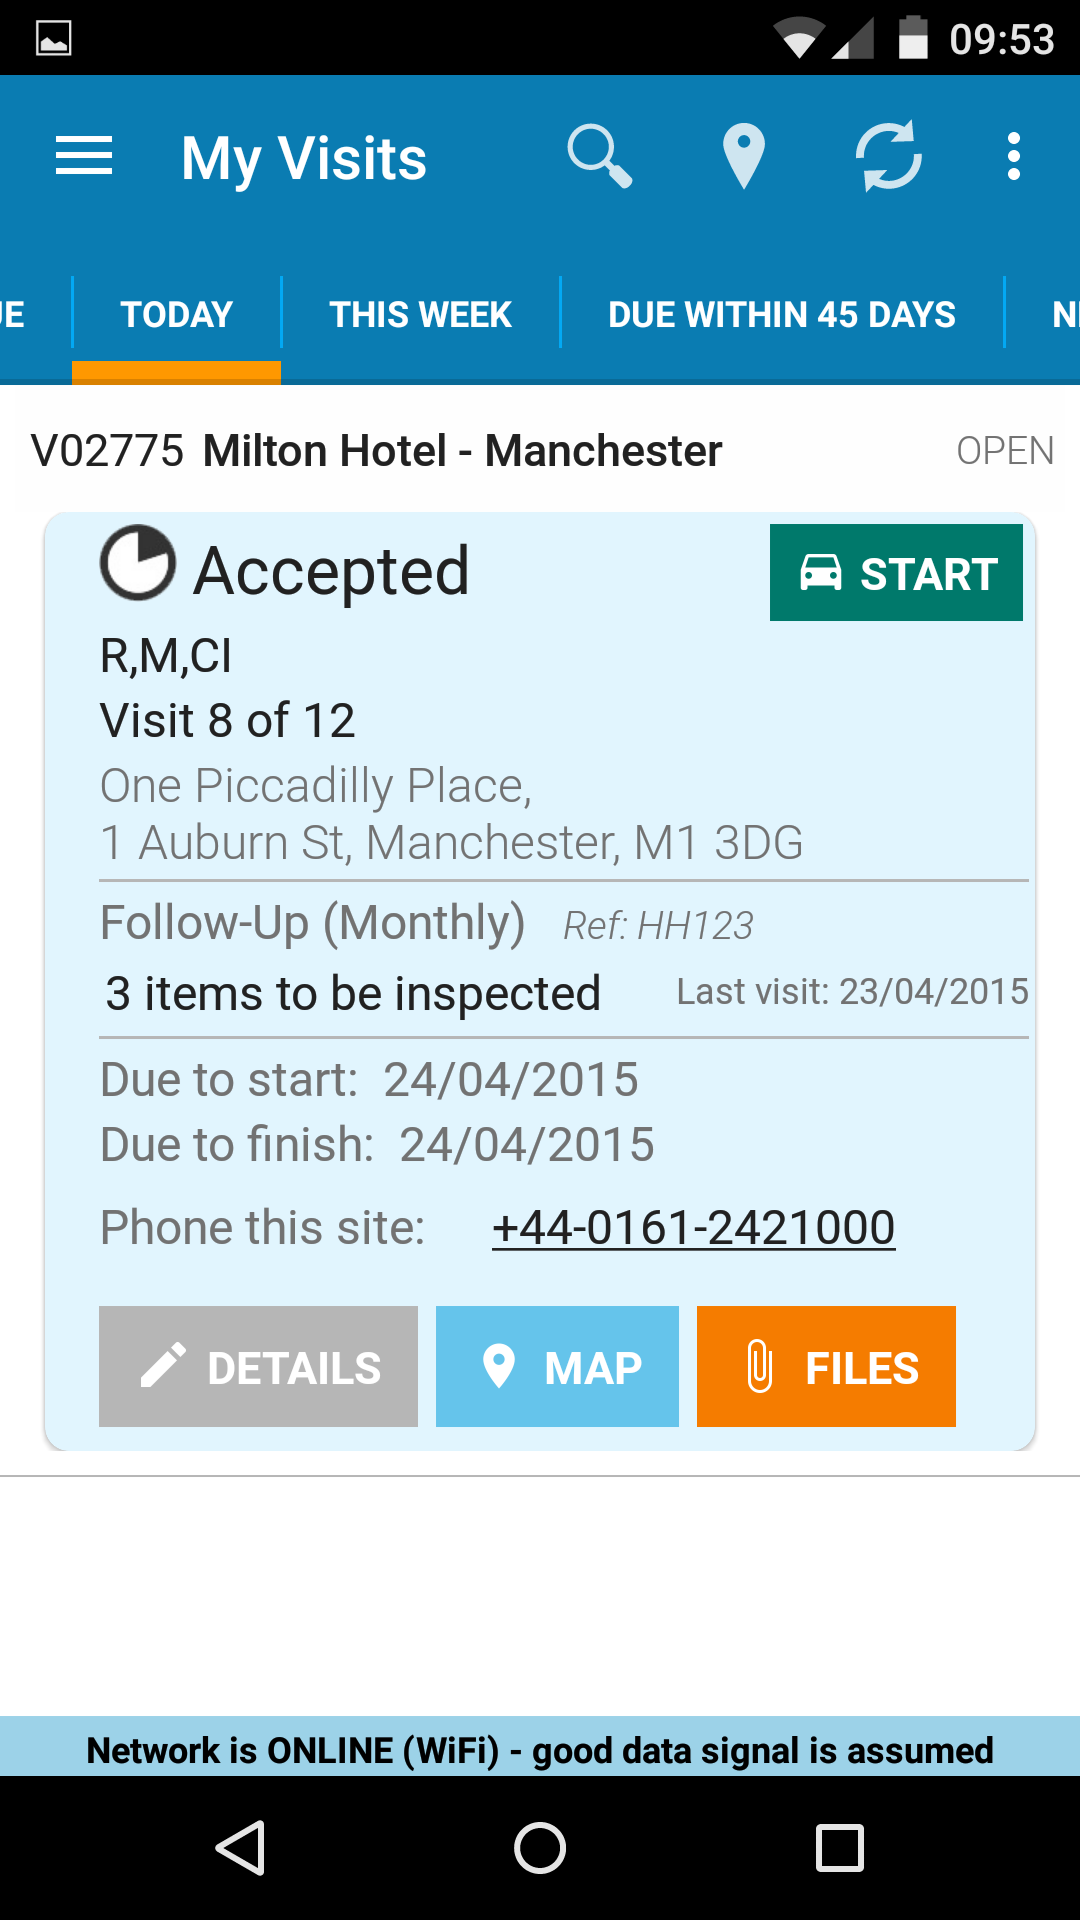
6. Starting Your Journey to site
From the visit detail card, tap the “Start” icon and confirm your selection.
7. Arriving on Site
From the visit detail card, tap the “Arrive” icon and confirm your selection.
8. Completing a Risk Assessment
From the visit detail card, tap the details icon to enter the visit detail. From here you can type or dictate your site risk assessment and complete standard questions if your company has turned this feature on.
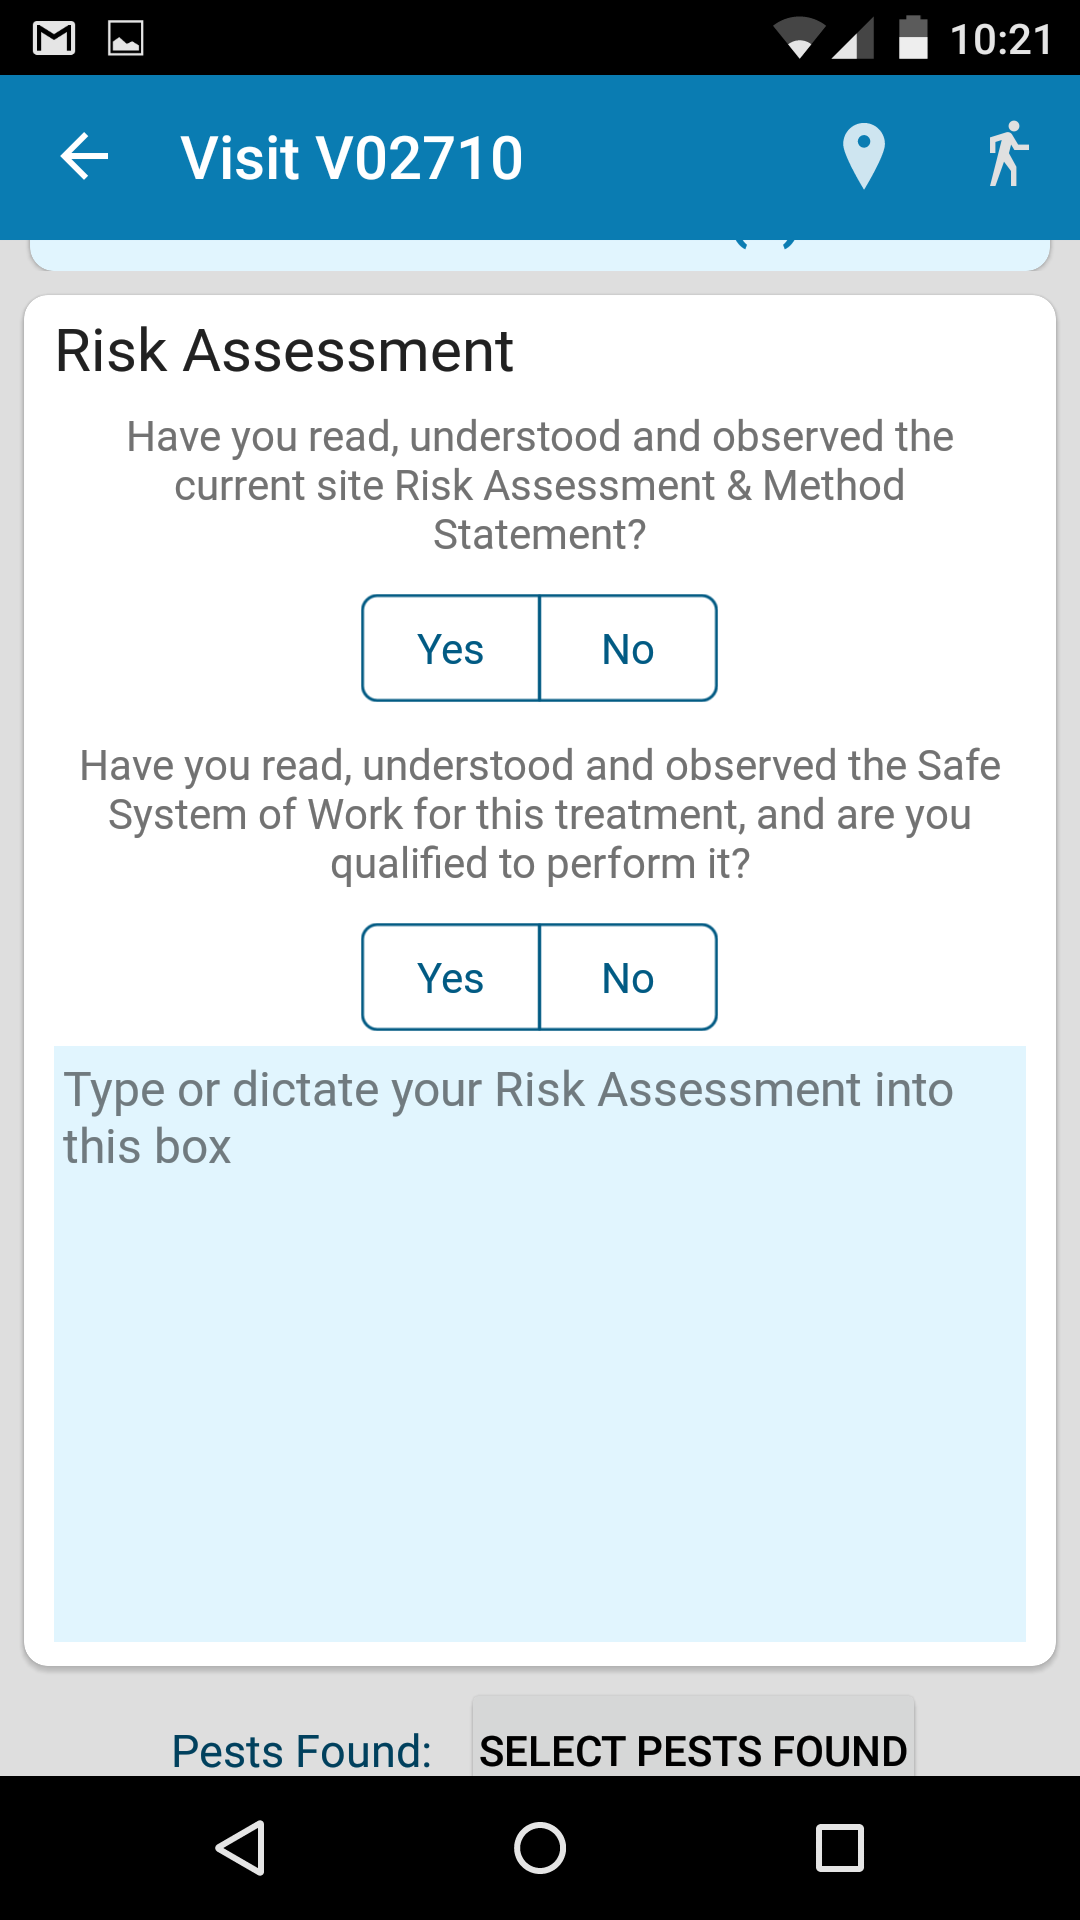
Pressing your device’s back button saves your changes.
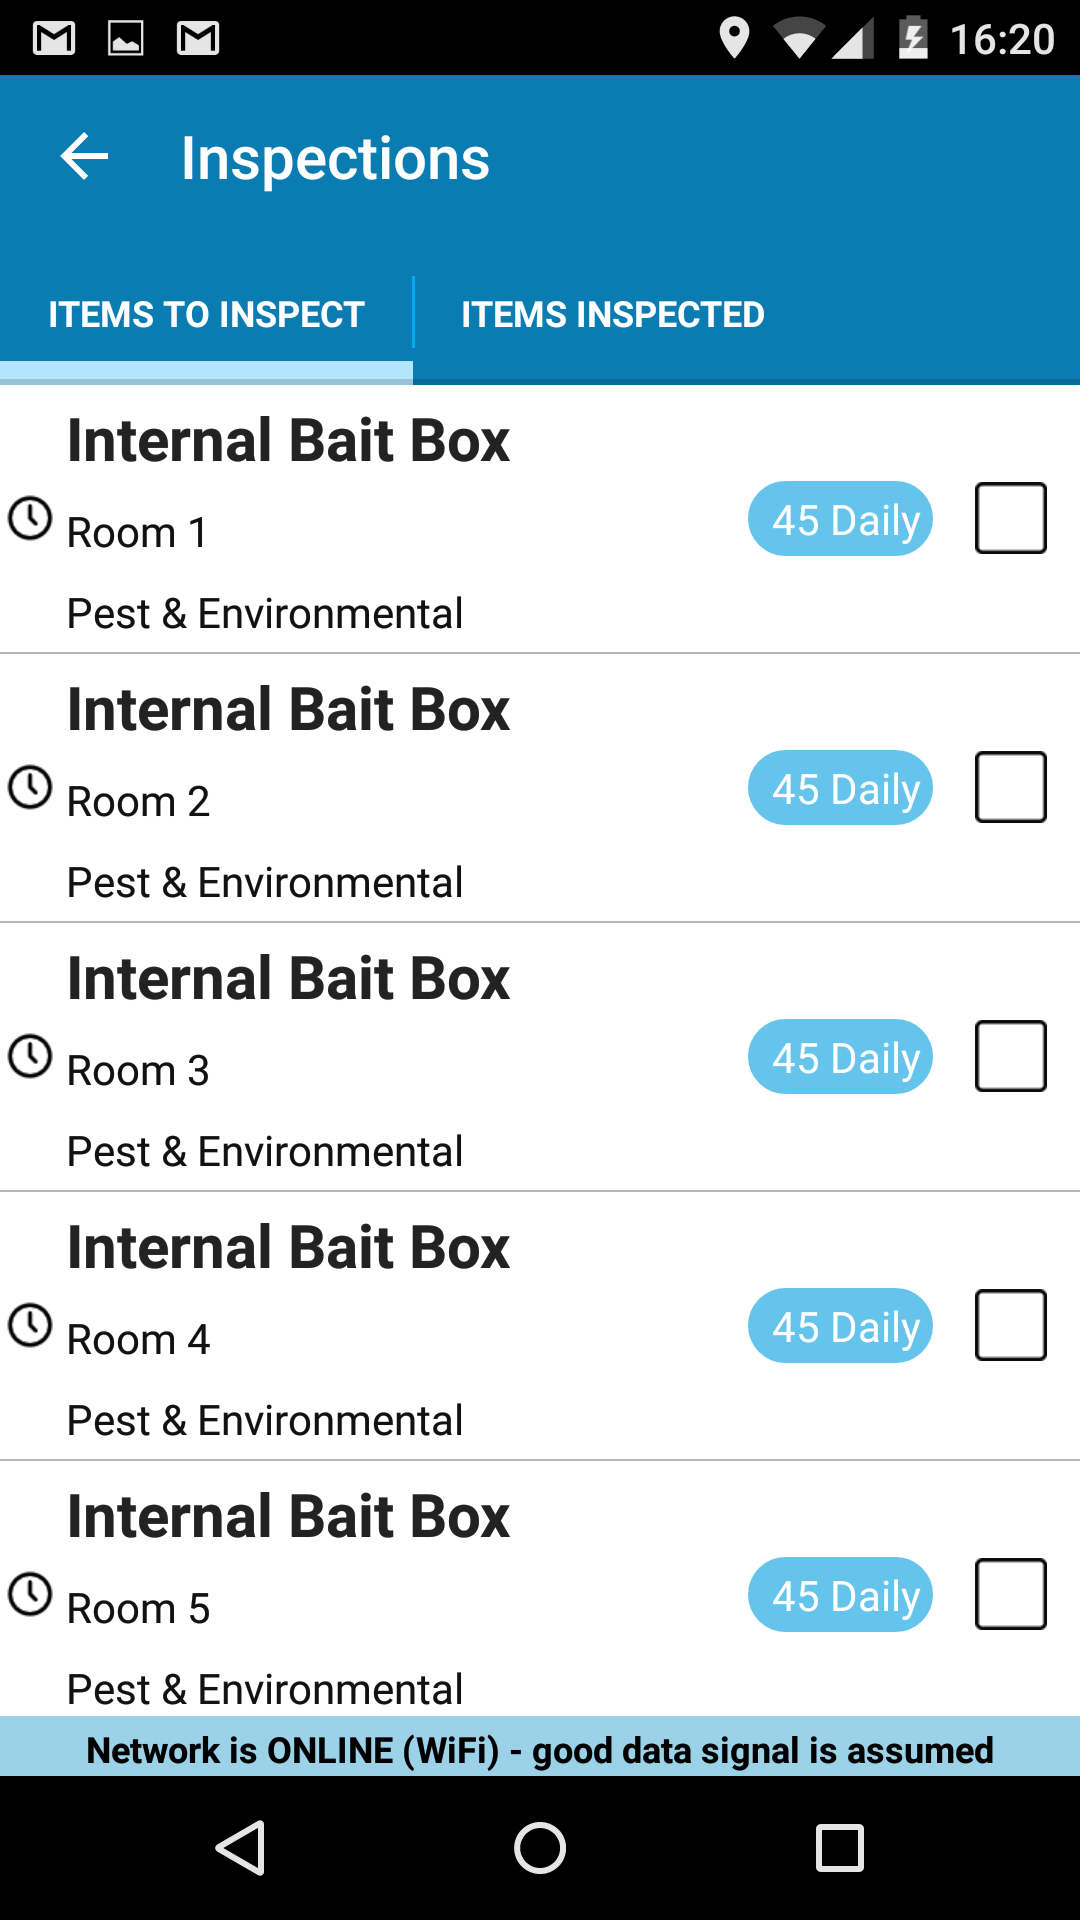
9. Completing Inspections
If your company uses inspection management you can tap the view inspections link to access any inspections required on the visit
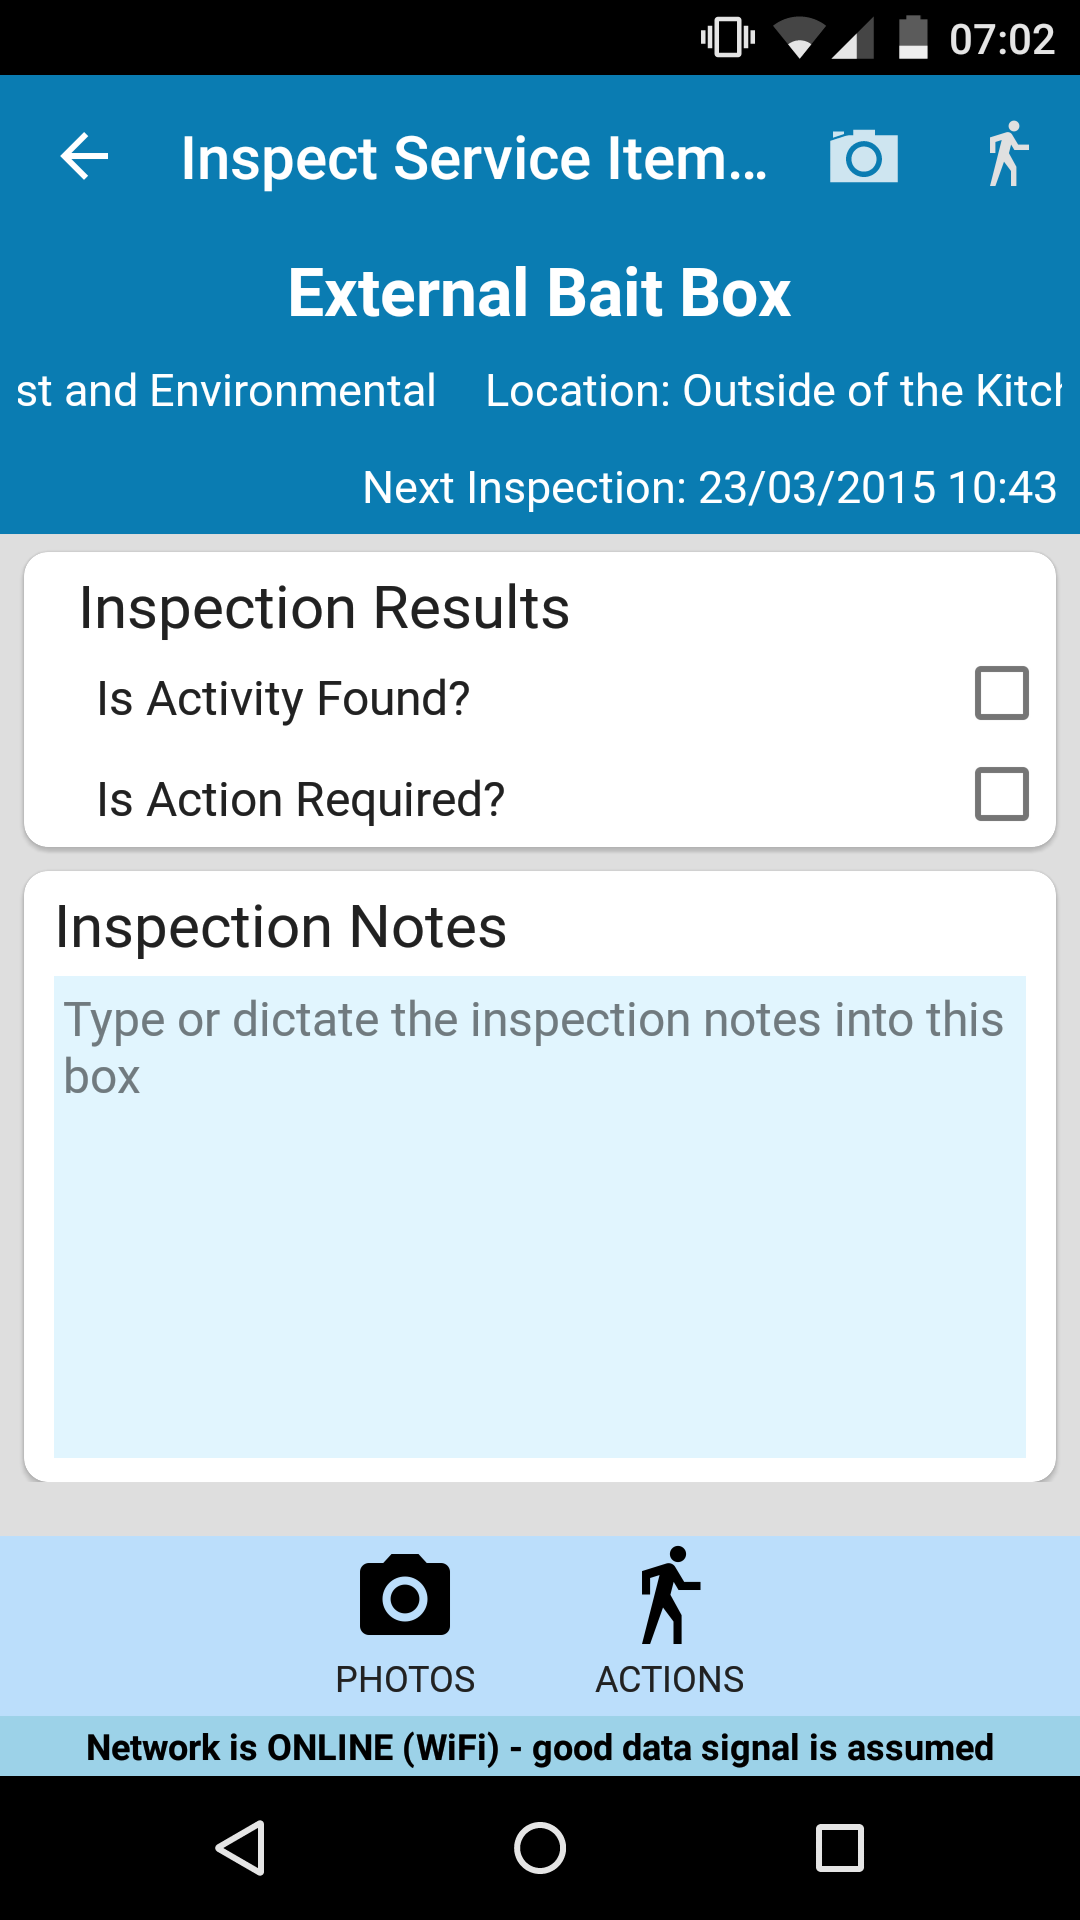
From the inspections page you are able to provide details of the inspection, create actions, and complete standard forms depending on the item being inspected.
You can also upload any related images and view any previous actions for the inspection item.
10. Uploading Attachments
At the bottom of the inspection and visit detail screens is a Photos icon that, when tapped, takes you to to a page which allows you to upload and tag photos.
You can select photos you wish to upload or take new photographs using your camera.
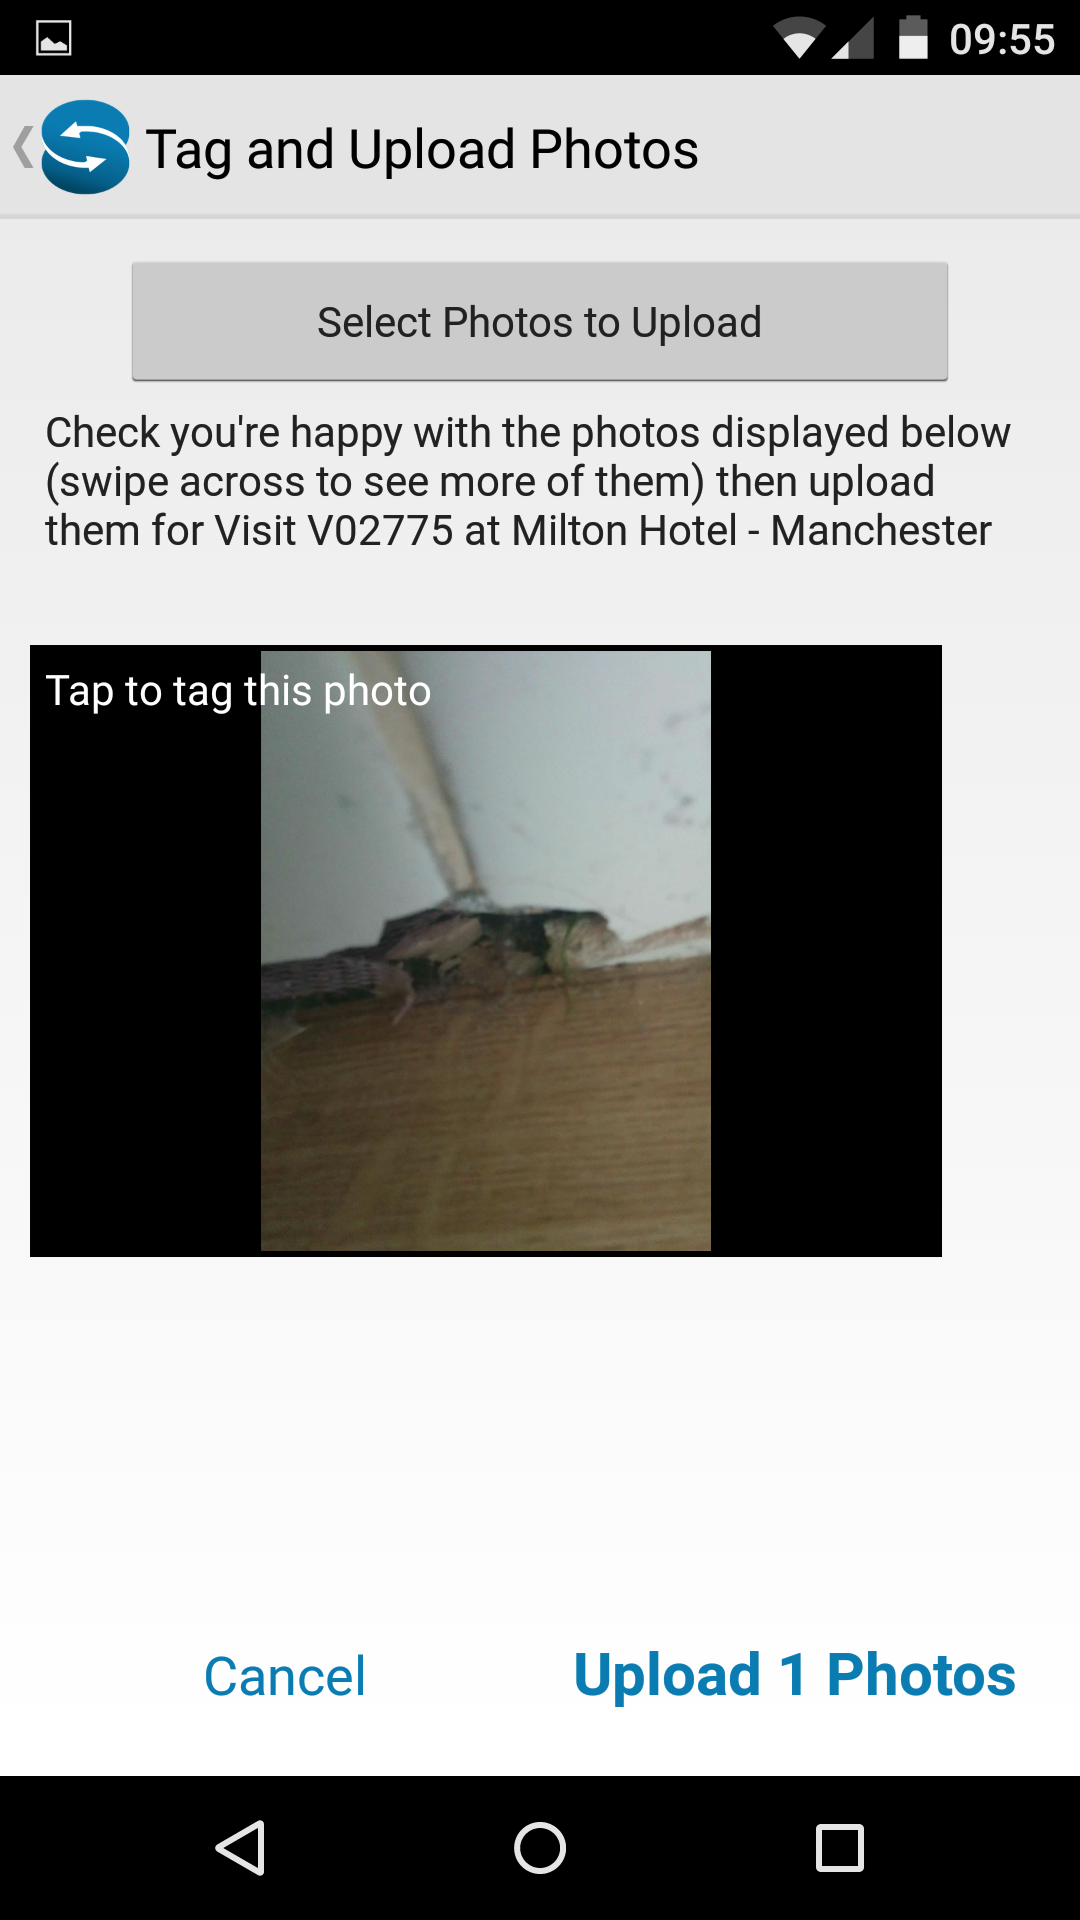
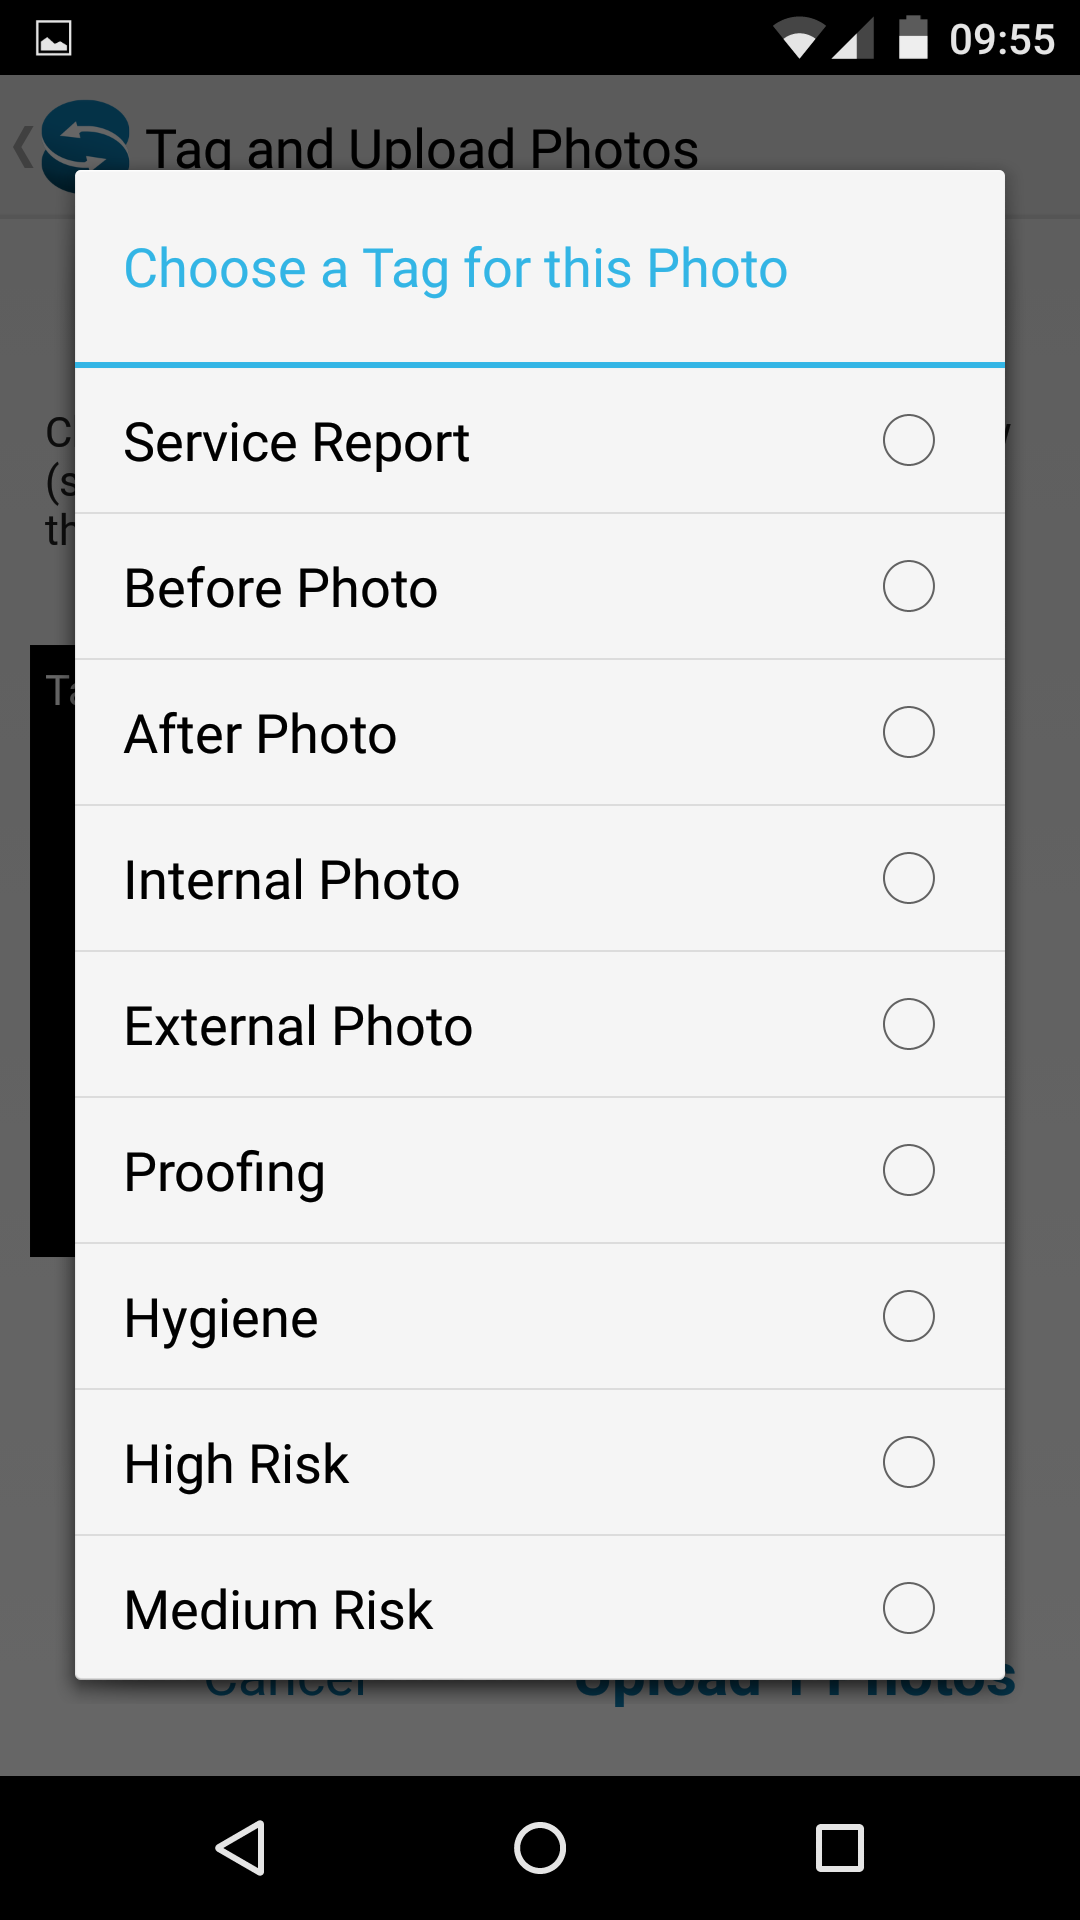
Once you have selected the photos to upload you can tap on each photograph to tag it with the relevant details.
11. Completing A Visit
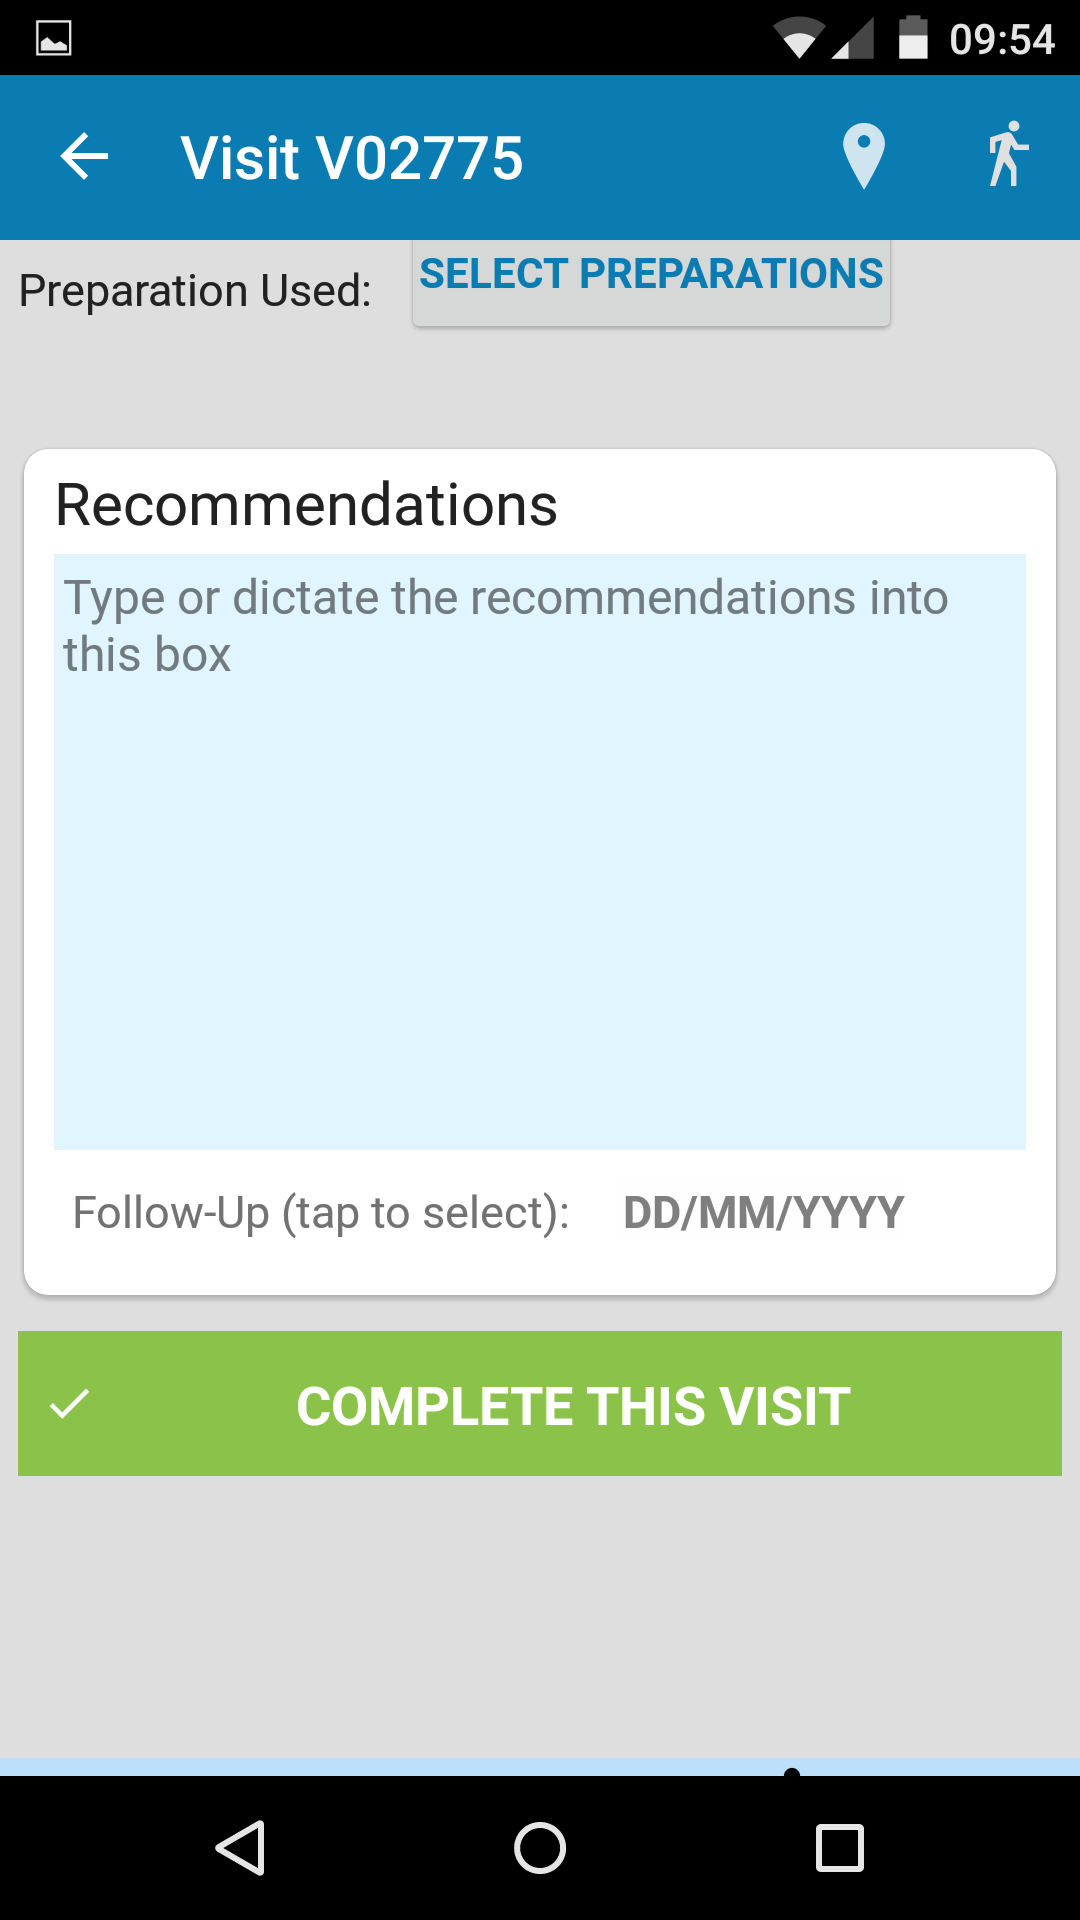
Once you have inspected all the items required and have completed your risk assessment you are ready to complete the visit.
Scroll down the main visit screen completed all required areas such as Risk, Recommendations, Findings, Follow-Up details, Prep/Chemicals used before tapping the complete button at the bottom of the screen.
12. Capturing a Signature
At the bottom of the inspection and visit detail screens is a signature icon that, when tapped, takes you to a signature page which allows you to capture a customer signature and name.
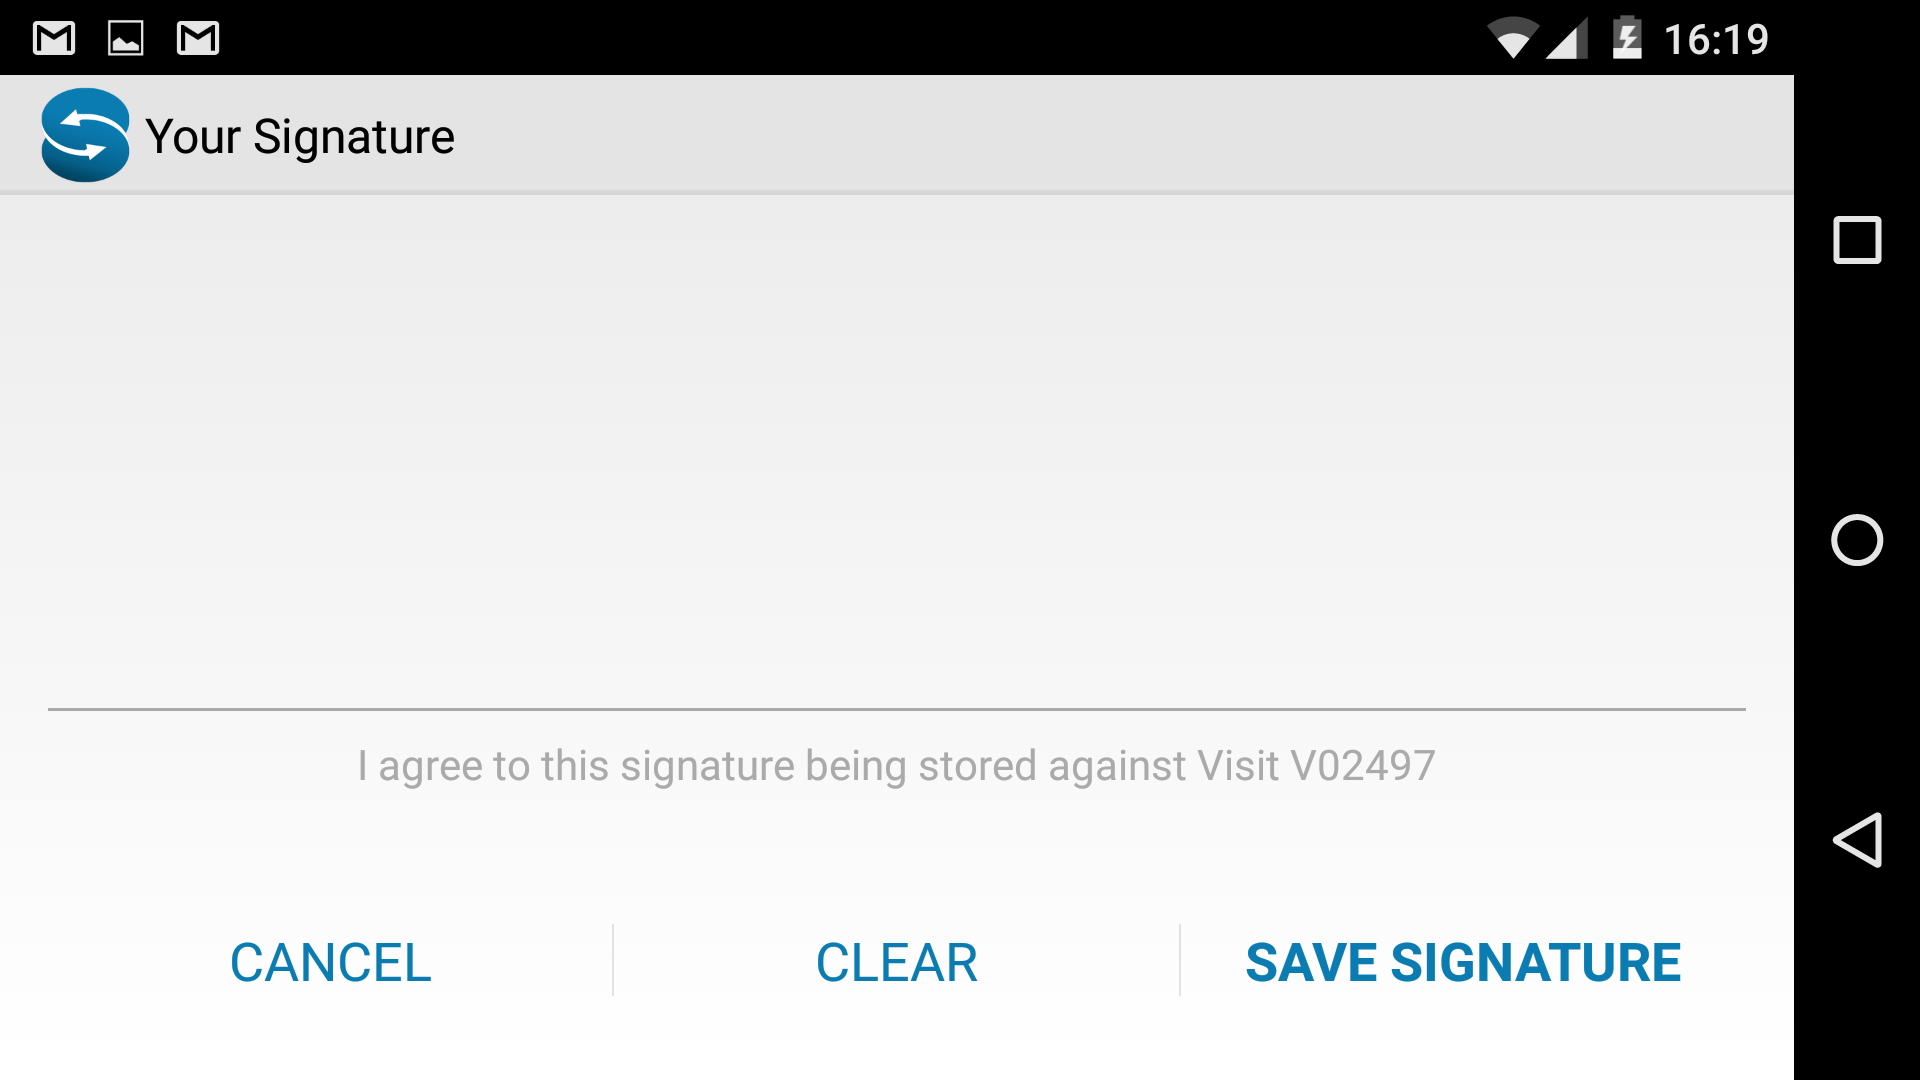
Rotate your mobile device to capture the signature and tap the Save Signature link to enter the customer name before tapping save.
You have now completed a visit from start to finish!
Other ServiceTracker Features
Swipe your finger to from the left side to the right or tap the top left menu icon to access the ServiceTracker menu screen.
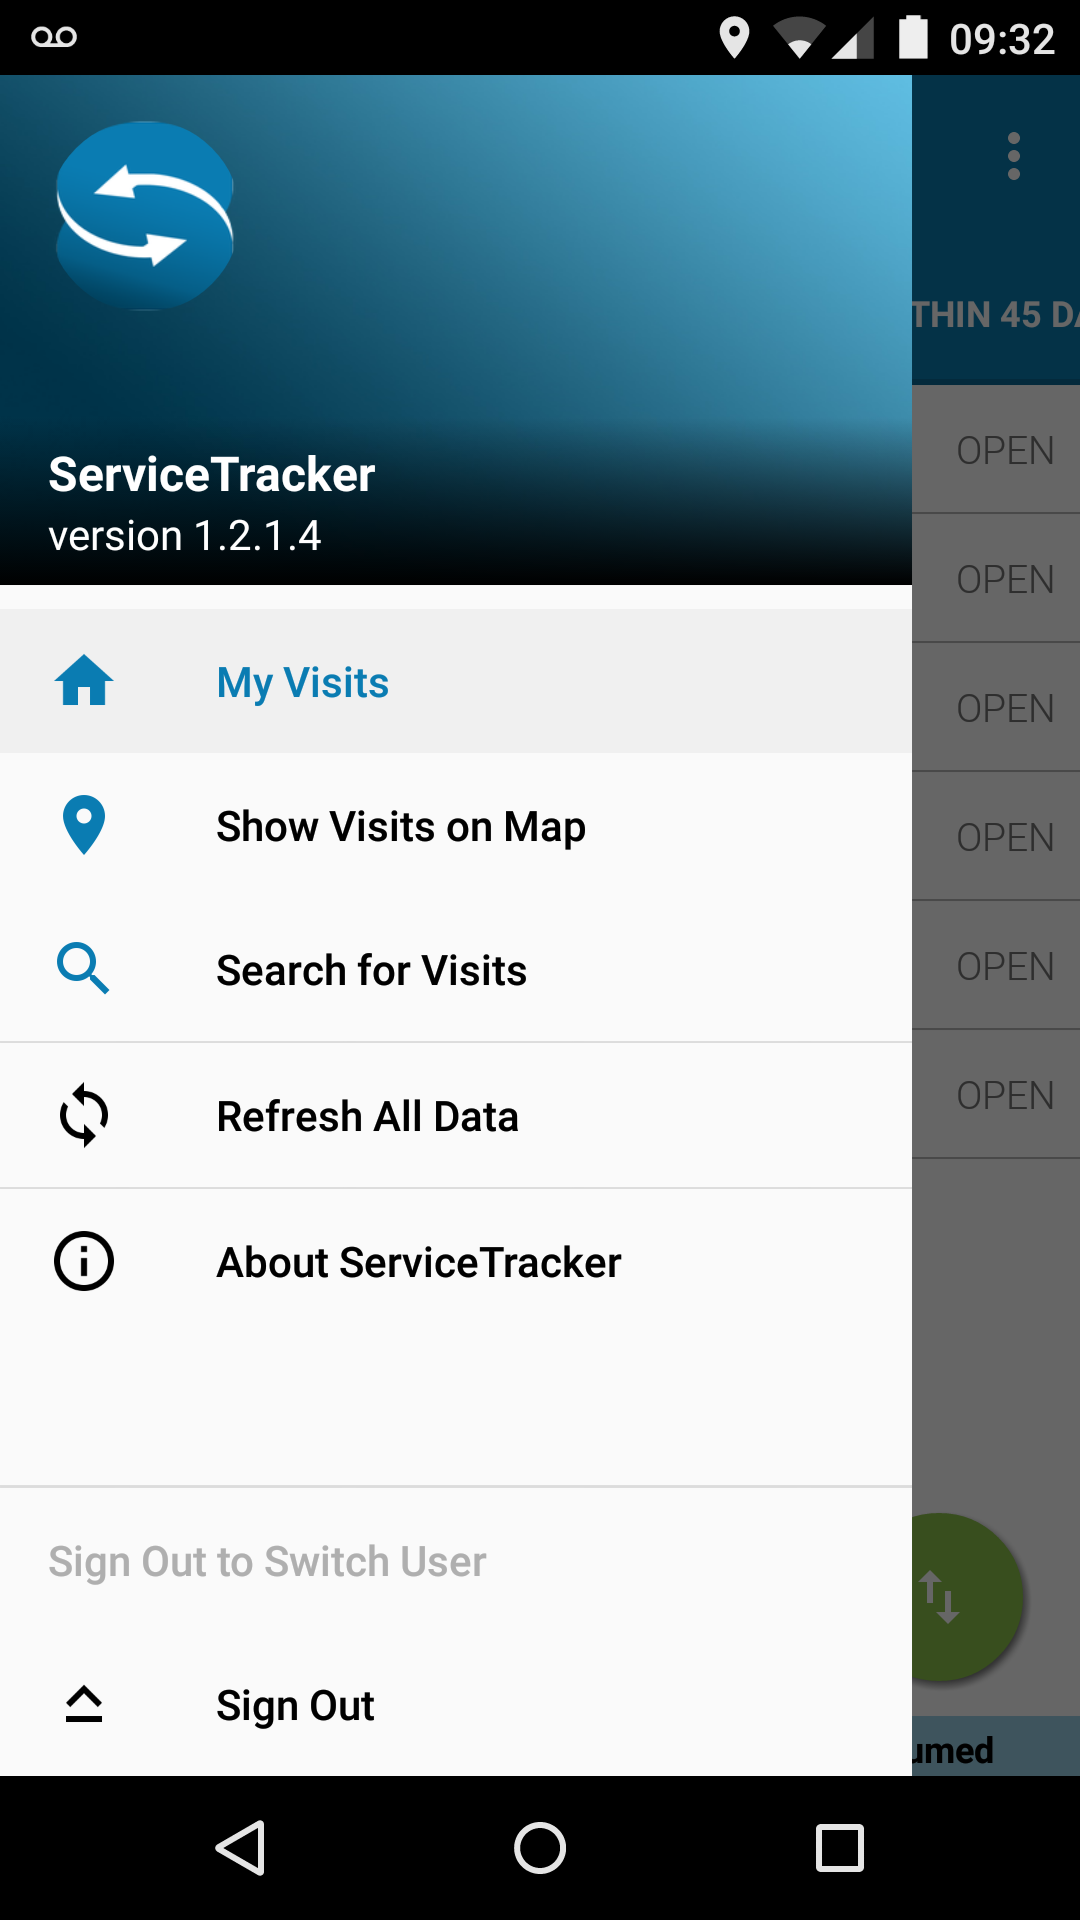
This screen changes depending on your active view but is used to sign out, access the search features, access the mapping tools, perform a full refresh or check your version number.
Checking for new data
To check for new data on a list, swipe down on any of the ServiceTracker list views. This will refresh your application with the most up to date visit information.
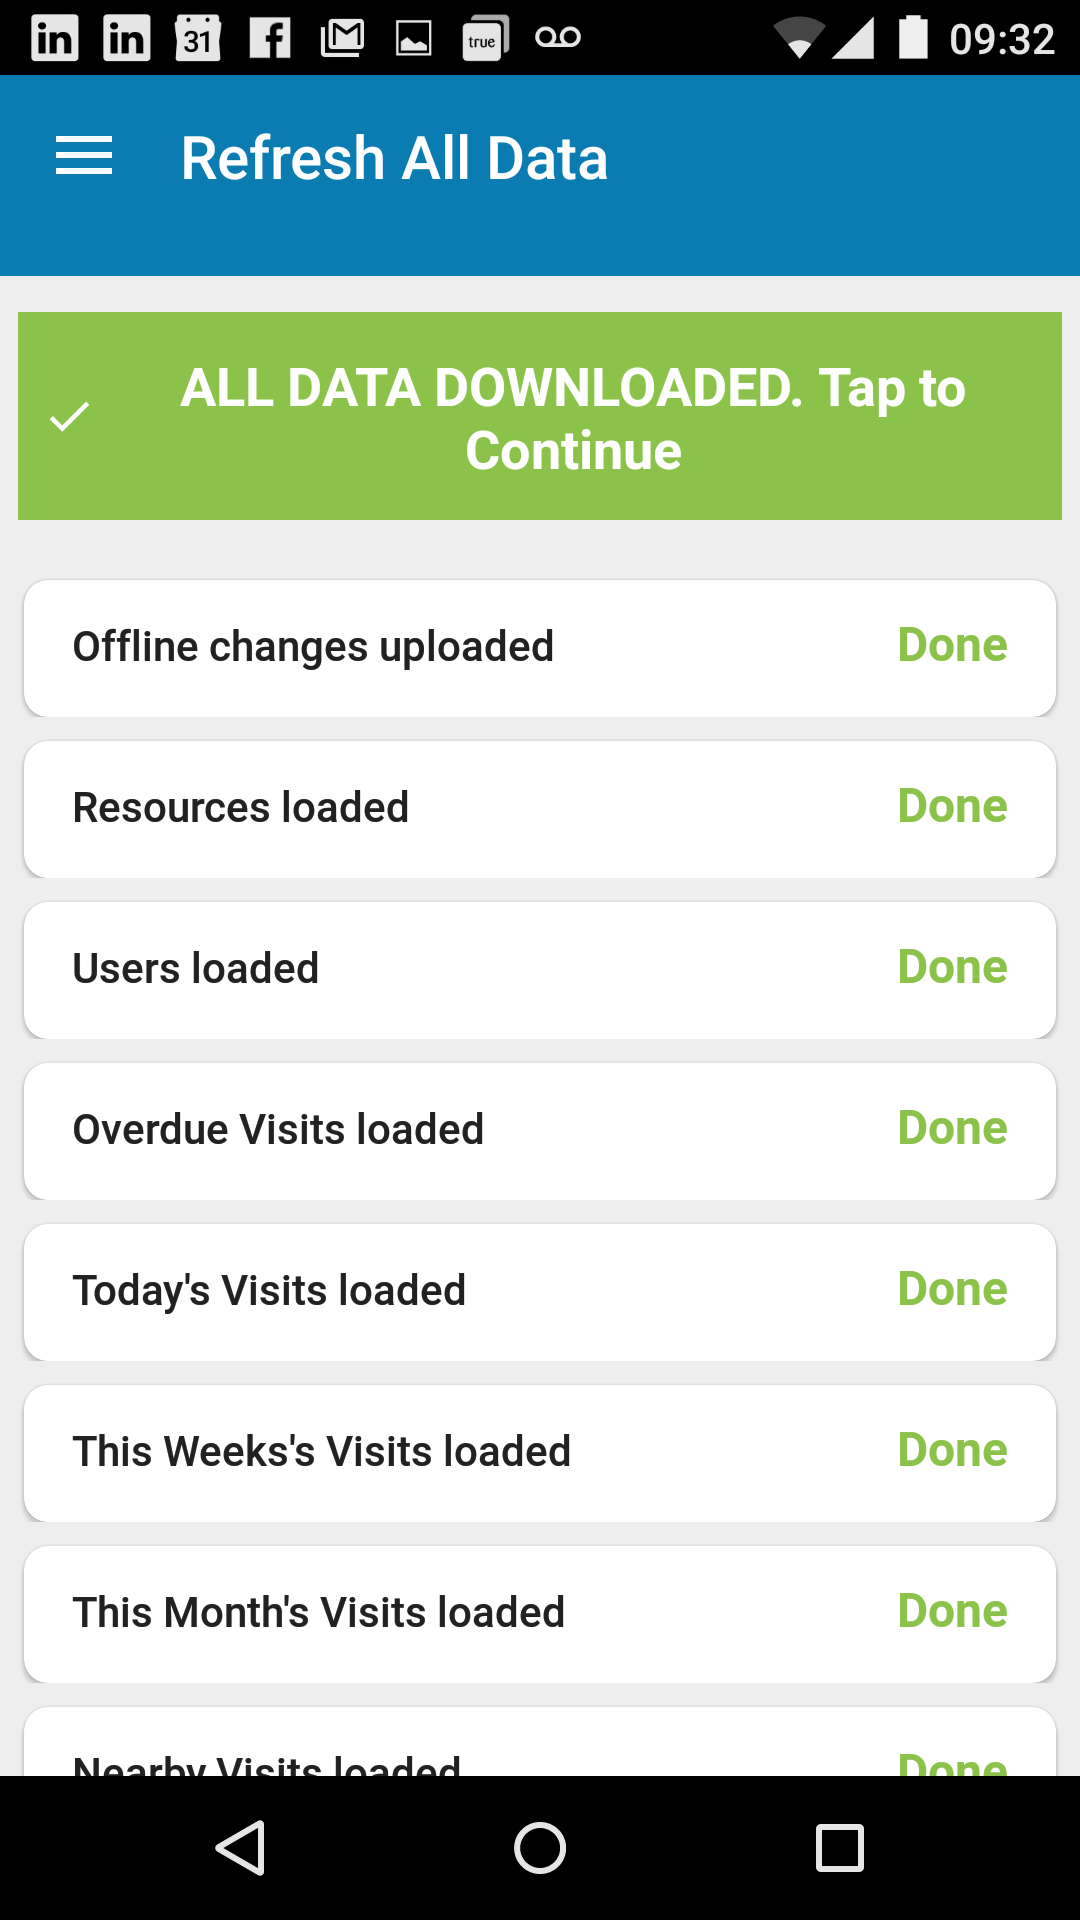
Alternatively you can access the side bar and tap on Refresh All Data to download any new visits and ensure your device is up to date.
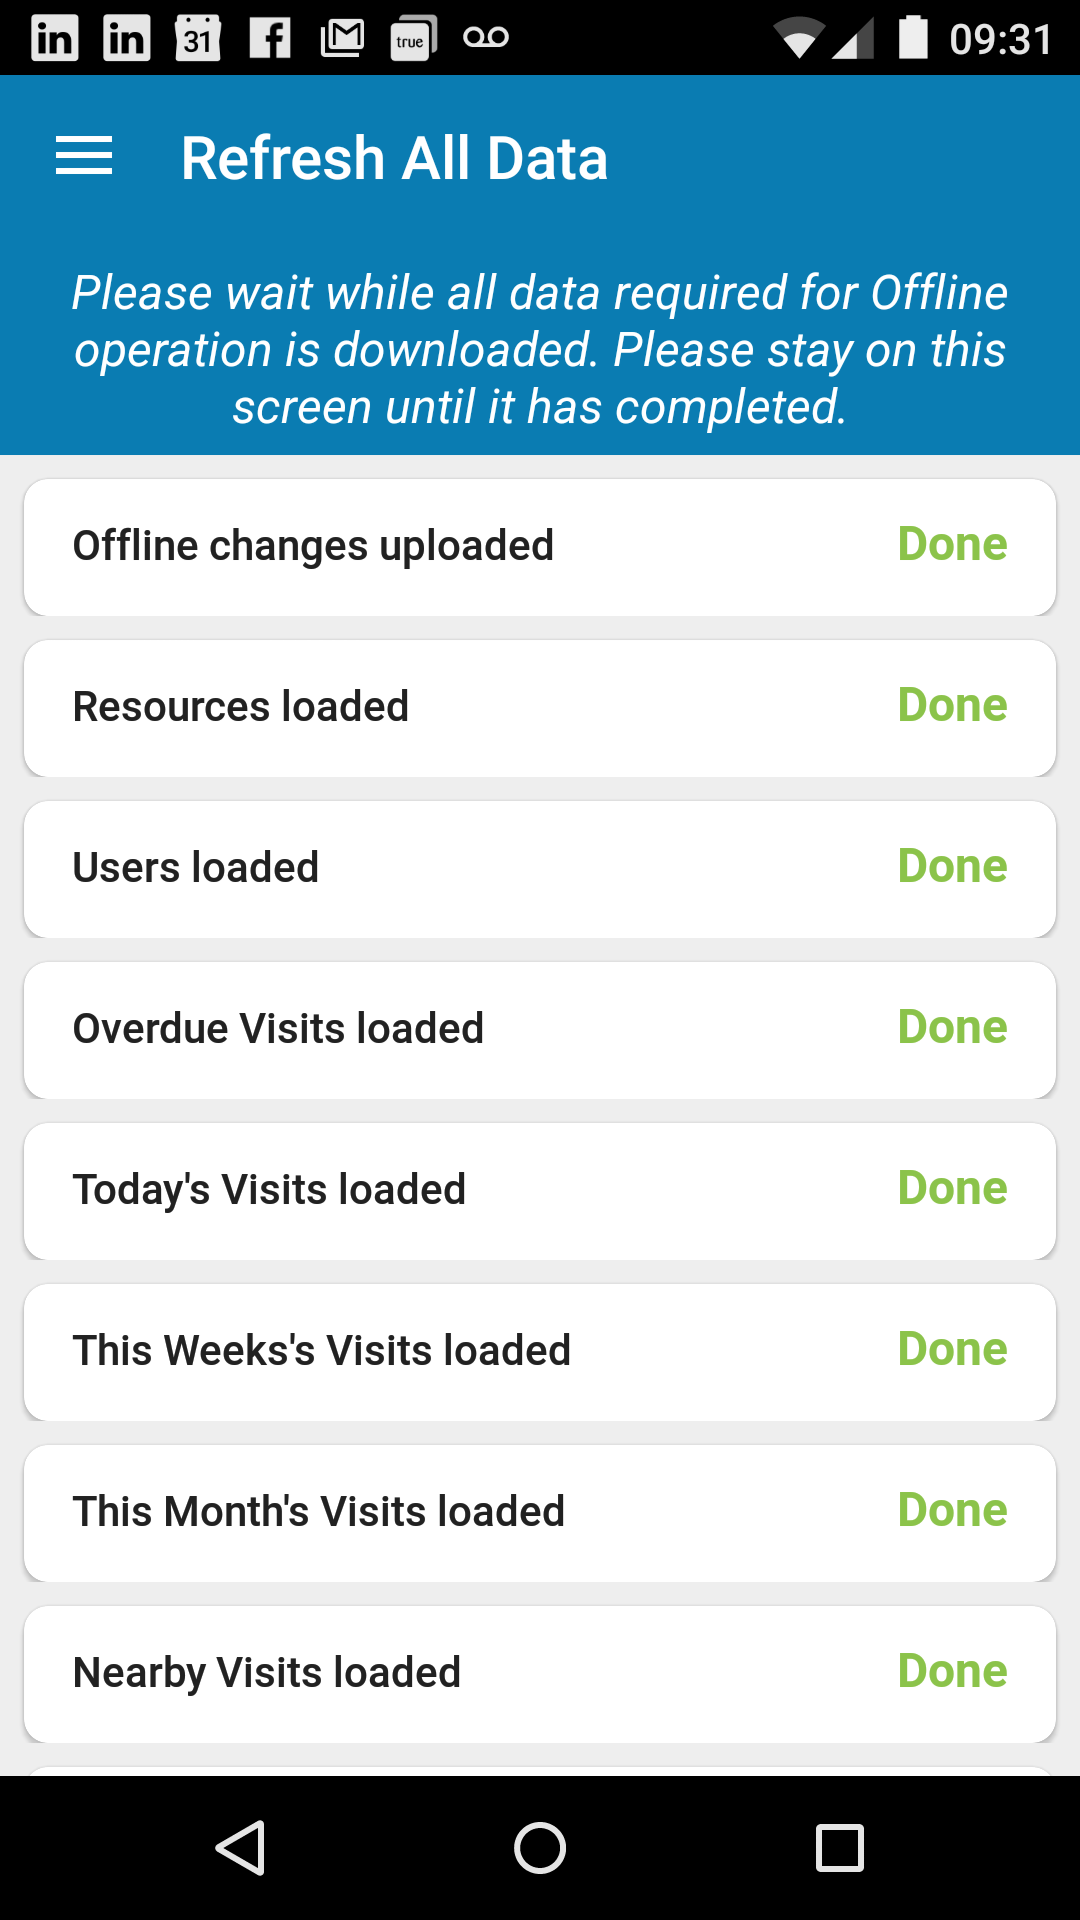
Please ensure you wait until all data has downloaded then tap to continue.